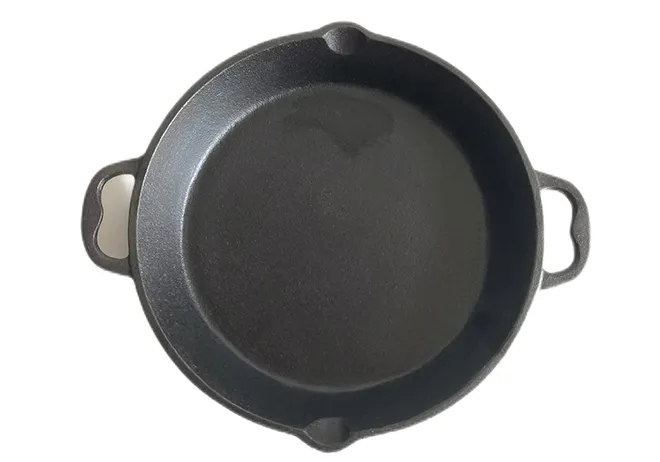
Tips for Successfully Restoring Your Vintage Cast Iron Skillet at Home
Restoring Cast Iron Pans A Timeless Kitchen Tradition
Cast iron pans have long been celebrated for their durability, heat retention, and the unique flavor they impart to dishes. However, with time and use, these culinary treasures can show signs of wear, including rust, food residue, and a loss of seasoning. Fortunately, restoring a cast iron pan is a rewarding endeavor that not only saves money but also revives a beloved kitchen tool. This article will guide you through the steps to restore your cast iron pan to its former glory.
Step 1 Assessing the Condition of Your Pan
Before diving into the restoration process, it's essential to assess the condition of your cast iron pan. Examine it for rust, stubborn food residues, or significant wear. A pan with light rust can often be revived easily, while deeper pitting may require more intensive restoration. Understanding the extent of the damage will help you determine the most effective cleaning method.
Step 2 Cleaning the Pan
Begin the restoration process by cleaning the pan. For minor rust or residue, a stiff brush or a non-metal scrub pad combined with hot water can do wonders. Avoid using soap, as it can strip away the remaining seasoning. If the pan has extensive rust or burnt-on food, you may need to use steel wool or a heavier abrasive to remove the remnants. After scrubbing, rinse the pan thoroughly and dry it immediately to prevent new rust from forming.
For pans with severe rust, consider using a vinegar solution (1 part vinegar to 1 part water) to soak the pan for no more than an hour. This helps break down the rust without damaging the pan itself. After soaking, scrub the pan again, rinse, and dry promptly.
restoring cast iron pan

Step 3 Re-Seasoning the Pan
Once your pan is clean and dry, it's time to re-season it. Seasoning is a crucial step that forms a non-stick surface while enhancing your pan's flavor and appearance. Preheat your oven to 450°F (232°C). Apply a thin layer of vegetable oil, flaxseed oil, or shortening to the inside and outside surfaces of the pan. Make sure to wipe off any excess oil with a paper towel, as too much oil can lead to sticky buildup.
Place the pan upside down in the preheated oven on the top rack, with a baking sheet or foil on the bottom rack to catch any drips. Bake the pan for about an hour, then turn off the oven and let the pan cool inside. This process will create a durable, non-stick coating that can withstand years of cooking.
Step 4 Ongoing Care and Maintenance
To keep your restored cast iron pan in excellent condition, practice proper care. Avoid soaking the pan in water and always dry it thoroughly after washing. Use a stiff brush and hot water for cleaning, and apply a light coat of oil after each use to maintain the seasoning. If discoloration or rust reappears, repeat the cleaning and seasoning process as needed.
Conclusion
Restoring cast iron pans is not only practical but also a celebration of traditional cooking methods. With a little effort and care, you can bring new life to a pan that has served you well over the years. Embrace the journey of restoration; you will create a culinary tool packed with history and character, ready to serve countless delicious meals for generations to come. Investing in your cast iron pan is an investment in your cooking future, blending nostalgia with functionality in your kitchen. So, roll up your sleeves, grab your supplies, and let the restoration begin!
-
Cast Iron Cookware Pancake Pan- ZD Cookware|Non-Stick, Even Heat, DurableNewsAug.02,2025
-
Cast Iron Cookware- Baixiang County Zhongda Machinery|Non-Stick, Heat RetentionNewsAug.02,2025
-
High Quality Kitchen Durable Black Round Cast Iron Cookware Pancake Crepe Pan With Wooden Handle|Non-Stick Surface&Heat RetentionNewsAug.02,2025
-
Authentic Traditional Chinese Wok for High-Performance CookingNewsAug.02,2025
-
Season Cast Iron Perfectly with GPT-4 Turbo TipsNewsAug.01,2025
-
High Quality Cast Iron Cookware - Baixiang County Zhongda MachineryNewsAug.01,2025


