Perfecting Oval Bread Baked in a Dutch Oven for Delicious Home Cooking
The Art of Baking Oval Bread in a Dutch Oven
Baking bread is a time-honored tradition that not only fills your home with delightful aromas but also brings people together. Among the myriad types of bread, oval bread holds a special place. This rustic shape, combined with the method of baking it in a Dutch oven, creates a unique culinary experience that is both satisfying and accessible to home bakers of all skill levels.
Why Oval Bread?
Oval bread, often referred to as batard in French baking, is an elongated shape that allows for an even crust-to-crumb ratio. Its design provides ample surface area for the crust to develop a golden-brown exterior while maintaining a soft, airy interior. The oval shape is not only aesthetically pleasing; it also bakes evenly and slices beautifully for sandwiches, toast, or accompaniment to soups and stews.
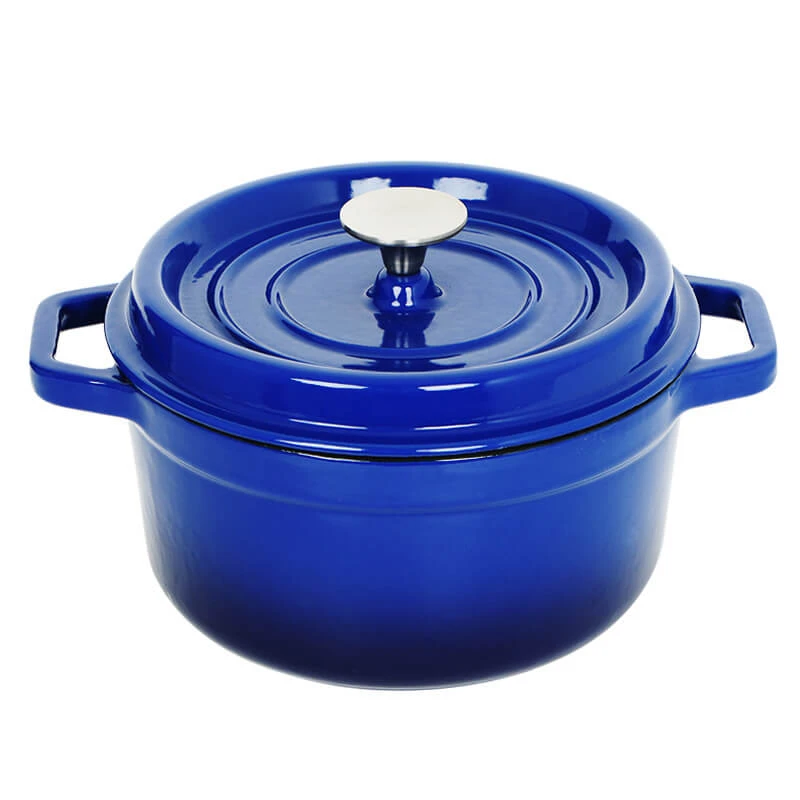
The Dutch Oven Advantage
Baking bread in a Dutch oven is an age-old technique that offers numerous benefits. First and foremost, the heavy, cast-iron construction of a Dutch oven helps retain heat and moisture, creating a steamy environment perfect for the initial stages of baking. This steam is crucial for achieving a crusty exterior while allowing the bread to expand properly, resulting in atherapeutic oven spring.
Using a Dutch oven also simplifies the baking process by eliminating the need for specialized equipment like a baking stone or steam tray. It’s a versatile tool that can move seamlessly from stovetop to oven, making it an ideal choice for home bakers who desire convenience and efficiency.
Recipe for Oval Bread in a Dutch Oven
Ingredients
- 3 cups all-purpose flour - 1 ½ teaspoons salt - 1 teaspoon sugar - 1 teaspoon instant yeast - 1 ¼ cups warm water (about 110°F or 43°C)
oval bread dutch oven

Instructions
1. Mixing the Dough In a large mixing bowl, combine the flour, salt, sugar, and instant yeast. Stir well to ensure an even distribution of the dry ingredients. Add the warm water and mix until a shaggy dough forms. It’s okay if the dough is slightly sticky.
2. First Rise Cover the bowl with a clean kitchen towel or plastic wrap. Allow the dough to rise at room temperature for about 12 to 18 hours, until it’s bubbly and has doubled in size—this long fermentation develops the complex flavors that home bakers crave.
3. Shaping the Dough Once the dough has risen, turn it out onto a floured surface. With floured hands, gently stretch and fold the dough over itself a few times to form a rough oval shape. Let it rest for 30 minutes.
4. Preheating the Dutch Oven About 30 minutes before baking, place your Dutch oven (with lid) in the oven and preheat to 450°F (232°C). This step is crucial to ensure the bread bakes evenly and to achieve that coveted crust.
5. Baking Carefully remove the hot Dutch oven from the oven. Gently place the dough inside (you can use parchment paper for easy removal) and cover it with the lid. Bake for 30 minutes covered, then remove the lid and bake for an additional 15-20 minutes, or until the crust is deep golden brown.
6. Cooling Once baked, transfer the loaf to a wire rack and let it cool completely before slicing. This resting period allows the crumb to set, ensuring a perfect texture.
Conclusion
Baking oval bread in a Dutch oven is a rewarding experience that highlights the beauty and simplicity of bread-making. The resulting loaf is not only delicious but also embodies the essence of home-cooked goodness. So next time you’re looking to impress your family or indulge in a delightful homemade treat, consider the satisfying journey of baking oval bread in your trusty Dutch oven. Enjoy the process, savor the results, and share your creation with those you love!
-
High Quality Kitchen Durable Black Round Cast Iron Cookware Pancake Crepe Pan-Baixiang County Zhongda Machinery Manufacturing Co., Ltd.|Durability,Non-Stick SurfaceNewsJul.22,2025
-
High Quality Cast Iron Cookware-Pan with Wooden Handle|Durable,Non-Stick,Even Heat DistributionNewsJul.21,2025
-
Cast Iron Pancake Crepe Pan-Durable Kitchenware|Non-Stick&Wooden HandleNewsJul.21,2025
-
Cast Iron Pancake Crepe Pan-Durable Kitchenware|Non-Stick&Wooden HandleNewsJul.21,2025
-
Cast Iron Pancake Crepe Pan-Durable Kitchenware|Non-Stick&Wooden HandleNewsJul.21,2025
-
Cast Iron Pancake Crepe Pan-Durable Kitchenware|Non-Stick&Wooden HandleNewsJul.21,2025