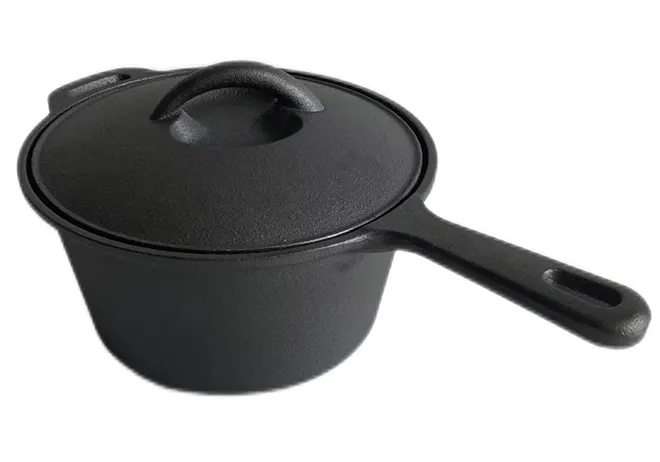
oval dutch oven bread
The Art of Baking Oval Dutch Oven Bread
Baking bread is an age-old tradition that transcends cultures, bringing comfort and joy to many. One of the most versatile tools for love in the kitchen is the Dutch oven, especially in its oval shape. Oval Dutch ovens are not only aesthetically pleasing, but they also provide the perfect environment for baking artisanal bread at home, allowing for an incredible crust and soft, airy interior.
Why Choose an Oval Dutch Oven?
The oval shape of the Dutch oven is designed to accommodate larger loaves, making it ideal for breads such as batards and oblong loaves, which can be difficult to bake in round Dutch ovens. This shape ensures even heat distribution, a crucial factor in achieving that coveted crust on your bread. Furthermore, the heavy lid traps steam that comes from the dough as it bakes, helping to create a crispy crust and a lovely rise.
The Recipe A Simple Yet Delicious Oval Dutch Oven Bread
Let’s dive into a simple recipe for a no-knead bread that delivers spectacular results with minimal effort. You’ll need just a few basic ingredients flour, water, salt, and yeast.
Ingredients - 3 cups all-purpose flour - 1 1/4 teaspoons salt - 1/4 teaspoon instant yeast - 1 1/2 cups warm water
oval dutch oven bread

Instructions 1. Mix the Dough In a large mixing bowl, combine the flour, salt, and yeast. Gradually add warm water to the dry ingredients, mixing until a shaggy dough forms. Cover the bowl with plastic wrap and let it sit at room temperature for 12 to 18 hours, or until bubbles form on the surface and the dough has doubled in size.
2. Shape the Dough After the dough has risen, dust a clean work surface with flour. Scrape the dough out onto the surface and gently fold it over itself a couple of times. Let it rest for about 15 minutes.
3. Prepare the Dutch Oven While the dough rests, place your oval Dutch oven (with the lid) in the oven and preheat to 450°F (232°C). This will ensure the pot is hot enough to create steam when the dough is added.
4. Bake the Bread Carefully remove the hot Dutch oven from the oven. Place the dough inside (you can use parchment paper for easy removal). Cover with the lid and bake for 30 minutes. Then, remove the lid and bake for an additional 15 to 20 minutes, until the crust is deeply golden.
5. Cool and Enjoy After baking, carefully transfer the bread to a wire rack to cool. Once cooled, slice it open to reveal the beautiful, airy crumb inside. Enjoy your expertly crafted bread as is, or with your favorite spreads.
Conclusion
Baking bread in an oval Dutch oven is not just a cooking method; it’s an experience that connects you to the traditions of those who came before us. Each loaf is a testament to patience and the joy of creating something from scratch. So, gather your ingredients, embrace the wonderful world of baking, and let your oval Dutch oven help you create delicious, crusty bread that will be the star of any meal.
-
New Cast Iron Skillet w/ Removable Wood Handle - Factory LatestNewsJul.25,2025
-
High Quality Kitchen Durable Black Round Cast Iron Cookware Pancake Crepe Pan-Baixiang County Zhongda Machinery Manufacturing Co., Ltd.|Durability,Non-Stick SurfaceNewsJul.22,2025
-
High Quality Cast Iron Cookware-Pan with Wooden Handle|Durable,Non-Stick,Even Heat DistributionNewsJul.21,2025
-
Cast Iron Pancake Crepe Pan-Durable Kitchenware|Non-Stick&Wooden HandleNewsJul.21,2025
-
Cast Iron Pancake Crepe Pan-Durable Kitchenware|Non-Stick&Wooden HandleNewsJul.21,2025
-
Cast Iron Pancake Crepe Pan-Durable Kitchenware|Non-Stick&Wooden HandleNewsJul.21,2025


