Perfectly Baked Oval Bread in a Dutch Oven for Delicious Homemade Loaves
The Delight of Baking Oval Bread in a Dutch Oven
Baking bread at home has surged in popularity over the years, and one of the most enjoyable and rewarding ways to achieve crusty, artisan-quality bread is by using a Dutch oven. Among the various shapes and styles that bread can take, oval bread stands out for its rustic appearance and hearty texture. In this article, we will explore the process of baking oval bread in a Dutch oven, sharing tips and insights that will guide both beginners and seasoned bakers alike.
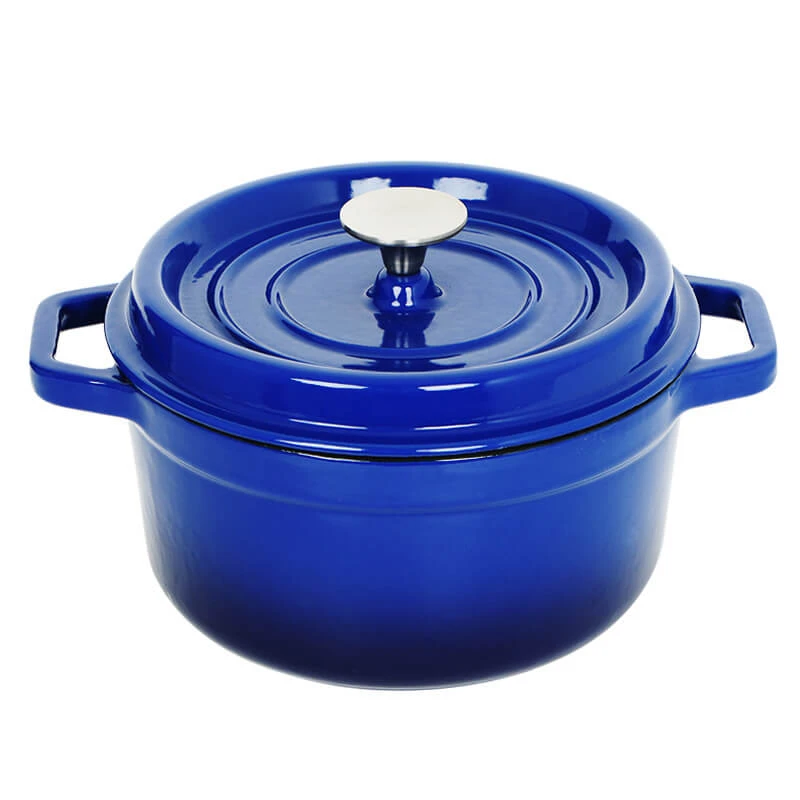
Understanding the Dutch Oven
First, let’s discuss why a Dutch oven is an ideal vessel for baking bread. This heavy, thick-walled pot can hold and circulate heat effectively, creating an environment similar to a professional steam oven. The lid seals in moisture during the initial stages of baking, which helps to develop a beautiful crust while preventing the bread from drying out. The result is a golden-brown exterior and a soft, chewy interior—just like you would find in a bakery.
Choosing the Right Ingredients
The key to making fantastic bread starts with good ingredients. For oval bread, you will typically need flour (preferably bread flour for its high protein content), water, yeast, and salt. Optionally, you might consider adding ingredients like honey, olive oil, or herbs to enhance the flavor. The quality of your ingredients can significantly impact the final product, so it’s worth investing in high-quality flour and fresh yeast.
The Bread-Making Process
1. Mixing the Dough Begin by combining the flour, salt, and yeast in a large mixing bowl. Add warm water gradually until the mixture forms a shaggy dough. Kneading is essential; it develops the gluten structure, which gives bread its unique texture. You can knead by hand for about 10 minutes or use a stand mixer with a dough hook attachment.
2. First Rise After kneading, shape the dough into a ball and place it in a lightly greased bowl, covering it with a damp cloth or plastic wrap. Let it rise in a warm spot until it doubles in size, which typically takes about 1 to 2 hours.
oval bread dutch oven

3. Shaping the Oval Loaf Once the dough has risen, gently deflate it and turn it out onto a floured surface. To shape it into an oval loaf, stretch and fold the dough into a more elliptical shape and pinch the seams to seal.
4. Second Rise Place your formed loaf onto parchment paper for easy transfer to the Dutch oven. Cover it with a cloth and let it rise again for another 30 to 60 minutes.
Baking the Bread
Preheat your oven to 450°F (232°C). Place your Dutch oven inside to heat up. Once preheated, carefully remove the hot Dutch oven, uncover your loaf, and using the parchment paper, transfer your bread into the pot. Cover with the lid and bake for about 30 minutes. Afterward, remove the lid to allow the crust to develop for another 15-20 minutes, until deep golden brown.
Cooling and Enjoying
Once baked, carefully remove the bread from the Dutch oven and let it cool on a wire rack. This cooling period is crucial as it allows the bread to finish settling and developing its flavor. The aroma while it cools is nothing short of divine. Finally, slice into your masterpiece and enjoy it with butter, as toast, or as the foundation for a delightful sandwich.
Conclusion
Baking oval bread in a Dutch oven is not just a culinary task; it’s a fulfilling journey that culminates in delicious, homemade artisanal bread. The combination of quality ingredients and the right tools makes all the difference, allowing you to produce bread that rivals any bakery. So, gather your ingredients, unleash your inner baker, and savor the joy of home-baked oval bread.
-
Premium Skillets Sets - Porcelain & Enamel Covered Cast Iron Cookware for Every KitchenNewsJun.24,2025
-
Premium Deep Cast Iron Pan – Versatile Enameled & Grill Options, Perfect for Frying and SaucesNewsJun.10,2025
-
Chipped Enamel Dutch Oven – Durable & Stylish Kitchen Essential for Even CookingNewsJun.10,2025
-
Best Cast Iron Cookware Set Sale Durable Pots & Woks DealsNewsJun.09,2025
-
Hanging Dutch Oven Oven Safe & Lid IncludedNewsJun.09,2025
-
16 Inch Dutch Oven - Heavy Duty Cast Iron for Large MealsNewsJun.09,2025