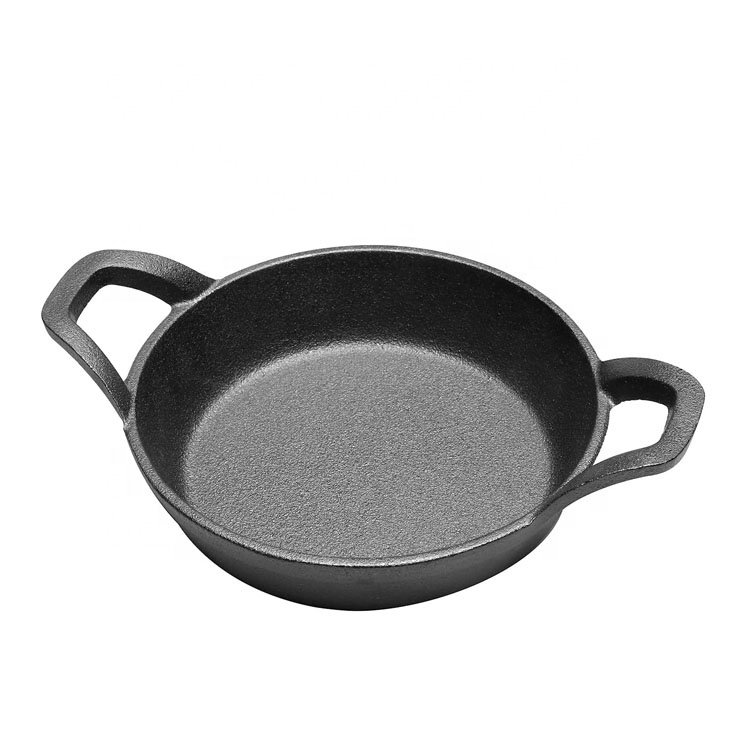
Tips for Seasoning and Maintaining Your Cast Iron Skillet
Curing an Iron Skillet A Guide to Perfecting Your Cooking Tool
If you’re an enthusiast of cooking, especially when it comes to creating flavorful dishes, you may have heard about the wonders of using an iron skillet. These durable, versatile pieces of cookware not only retain heat exceptionally well but also develop a naturally non-stick surface when cured properly. Curing an iron skillet is an essential skill for any cooking aficionado to master, and this article will guide you through the process, ensuring your skillet serves you well for years to come.
Understanding the Importance of Curing
Curing, or seasoning, an iron skillet involves treating its surface with oil and heating it to create a protective and non-stick layer. This process helps to prevent rust, enhances the skillet’s cooking performance, and adds a unique flavor to your meals. Over time, as you use and maintain your skillet, the seasoning builds up, providing a natural, chemical-free non-stick surface that is unmatched by many modern non-stick pans.
Choosing the Right Skillet
When selecting an iron skillet, look for one that demonstrates quality craftsmanship. Cast iron is ideal due to its heat retention capabilities, but be cautious of any imperfections or rough spots, as these can affect the seasoning process. If you purchase a new skillet, it might come pre-seasoned, but it’s still advisable to cure it again to enhance its performance.
The Curing Process
1. Cleaning the Skillet Before you begin seasoning, clean the skillet thoroughly. If it’s new and has a factory coating, wash it with warm, soapy water (this is usually the only time you should use soap on cast iron). Rinse and dry the skillet completely. For older skillets with rust or seasoning residue, use steel wool to scrub it down until you reach bare iron.
curing iron skillet

2. Applying Oil After cleaning, it’s time to apply the oil. For curing, vegetable oil, flaxseed oil, or shortening are all popular choices. Avoid olive oil or butter, as their lower smoke points can lead to a sticky surface. Pour a small amount of oil onto the skillet and use a paper towel or cloth to spread it evenly across the cooking surface, including the sides. Wipe away any excess oil; too much can result in a sticky finish.
3. Heating the Skillet Preheat your oven to 375°F (190°C). Place the skillet upside down on the middle rack of the oven, with a baking sheet or aluminum foil on the lower rack to catch any drips. This prevents excess oil from pooling and ensures an even coating. Bake the skillet for an hour; this process allows the oil to polymerize, forming a solid and resistant layer.
4. Cooling Down After one hour, turn off the oven and let the skillet cool inside. This gradual cooling helps to reinforce the seasoning, making it more durable. Once cool, your skillet is ready for use!
Maintaining Your Cured Skillet
The key to a long-lasting iron skillet is regular maintenance. After each use, it’s best to clean the skillet while it’s still warm, using a brush and hot water. Avoid soaking it or putting it in the dishwasher, as water can lead to rust. If food tends to stick, a light reapplication of oil after cleaning can help maintain the seasoning.
If you notice that your skillet’s finish is dull or rusty, don’t panic! A quick cleansing followed by a re-seasoning can restore its former glory. Additionally, periodically checking and reapplying a thin layer of oil can keep your skillet in prime condition for years to come.
Conclusion
Curing an iron skillet is not just a simple task; it’s an investment in a cooking tool that, if cared for properly, can last a lifetime. By understanding the importance of seasoning and following the appropriate steps, you can prepare a skillet that elevates your cooking while adding a touch of tradition to your kitchen. So grab your cast iron skillet, and start your journey towards culinary excellence today!
-
High Quality Cast Iron Pancake Crepe Pan - ZD Cookware | Durable, Non-Stick, Wooden HandleNewsJul.13,2025
-
High Quality Cast Iron Cookware - ZD Cookware|Durable Heat Retention&Non-Stick SurfaceNewsJul.13,2025
-
Cast Iron Pancake Crepe Pan-Durable Kitchenware-ZD CookwareNewsJul.13,2025
-
Premium Cast Iron Cookware ZD Cookware|Durable Non-Stick Wooden HandleNewsJul.13,2025
-
Durable Cast Iron Pancake Crepe Pan - Zhejiang ZD Cookware Co., Ltd.|Heat Retention,Durability,Non-Stick Surface,Versatile Cooking,Wooden HandleNewsJul.12,2025
-
High Quality Cast Iron Cookware - ZD Cookware | Black Pancake Pan, Non-Stick SurfaceNewsJul.12,2025


