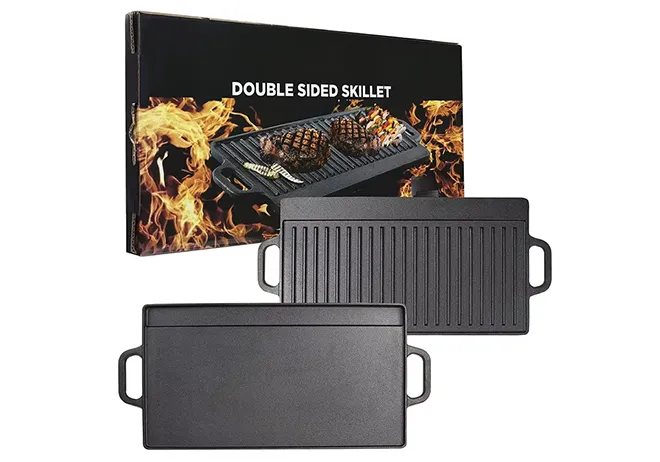
treating cast iron grill grates
Treating Cast Iron Grill Grates for Longevity and Performance
When it comes to grilling, many enthusiasts swear by the advantages of cast iron grill grates. Known for their superior heat retention and even cooking characteristics, cast iron grates have become a staple in outdoor cooking. However, like any prized cooking equipment, they require proper care and treatment to ensure longevity and optimal performance. In this article, we'll explore the steps to properly treat cast iron grill grates, keeping them in top condition for years of grilling enjoyment.
Understanding Cast Iron Grates
Before diving into treatment methods, it's essential to understand what makes cast iron unique. Unlike stainless steel or aluminum, cast iron offers excellent heat distribution, allowing for consistent cooking temperatures. Additionally, these grates can achieve high searing temperatures, producing those coveted grill marks on meats and veggies.
However, cast iron is prone to rust and requires special care. It is crucial to keep the grates well-seasoned and free from moisture to prevent oxidation. This brings us to the main topic—treating cast iron grill grates.
Step 1 Initial Cleaning
Before treating your cast iron grates, you need to start with a clean surface. If your grates are new, you might want to burn off any factory coatings. For used grates, scrub them with a stiff brush while they're still warm to remove any food residue. Avoid using soap, as it can strip the natural oils accumulated from previous seasons.
Step 2 Drying
After cleaning, it's vital to dry the grates thoroughly. Cast iron can rust if exposed to moisture, so ensure that the grates are completely dry before proceeding. You can dry them by placing them on the grill over low heat for a few minutes or wiping them down with a dry cloth.
Step 3 Seasoning
treating cast iron grill grates

Seasoning is the most critical step in treating cast iron grill grates. This process involves applying a layer of fat to create a protective coating that helps prevent rust and improves the cooking surface. For seasoning, you can use vegetable oil, canola oil, or even flaxseed oil.
To season, follow these steps
1. Apply Oil Use a paper towel or cloth to apply a thin, even layer of oil across the entire surface of the grates. Be sure to cover all areas, including the corners and underside. 2. Heat the Grill Preheat your grill to a medium heat and place the oiled grates back on. Allow the grates to heat for about 30 minutes. This process will polymerize the oil, creating a hardened, non-stick surface.
3. Repeat For best results, repeat the oil application and heating process 2-3 times. This will build up a stronger seasoning layer, enhancing the grates' cooking performance and rust resistance.
Step 4 Regular Maintenance
To keep your cast iron grates in optimal condition, regular maintenance is key. After each use, allow the grates to cool slightly, then clean them with a stiff brush to remove food particles. If food residue is stubborn, you can heat the grates again to help lift it off.
Periodically, or whenever you notice the seasoning starting to wear off, repeat the seasoning process. Also, store your grates in a dry place, and consider applying a light coating of oil before storage to further inhibit rust formation.
Conclusion
Treating cast iron grill grates might seem like a daunting task for some, but with a little patience and effort, they can be easily maintained. Proper care ensures that your grill grates will provide excellent cooking performance season after season. By cleaning, drying, seasoning, and maintaining your grates regularly, you'll enjoy countless grilled meals and extend the lifespan of this fantastic cooking tool. Embrace the art of treating cast iron, and your grilling experience will undoubtedly improve, leading to delicious results every time you fire up the grill. Happy grilling!
-
Season Cast Iron Perfectly with GPT-4 Turbo TipsNewsAug.01,2025
-
High Quality Cast Iron Cookware - Baixiang County Zhongda MachineryNewsAug.01,2025
-
Premium Cast Iron Pan: Durable & Perfect HeatNewsAug.01,2025
-
High Quality Kitchen Durable Black Round Cast Iron Cookware Pancake Crepe Pan-Baixiang County Zhongda Machinery Manufacturing Co., Ltd.NewsAug.01,2025
-
Cast Iron Cookware - Baixiang County Zhongda Machinery | Nonstick, Heat ResistanceNewsAug.01,2025
-
High Quality Kitchen Durable Black Round Cast Iron Cookware - Baixiang County Zhongda Machinery | Non-Stick, Heat Retention, DurableNewsJul.31,2025


