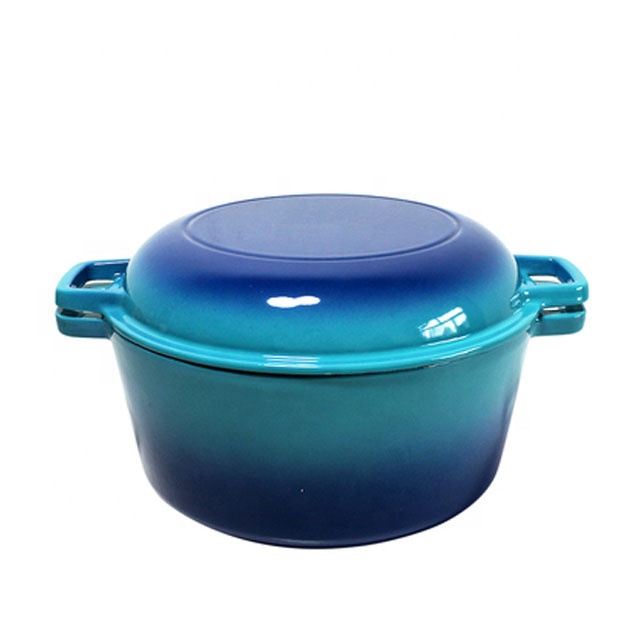
seasoning dutch oven cast iron
Seasoning a Dutch Oven Mastering Cast Iron Care
The Dutch oven is a beloved kitchen companion known for its versatility, durability, and excellent heat retention. One of the keys to maintaining a cast iron Dutch oven is the art of seasoning. Seasoning not only protects the cookware from rust but also creates a natural non-stick surface that enhances the flavor of your dishes. Whether you're a seasoned chef or a novice cook, understanding how to properly season your Dutch oven is essential for optimal performance.
What is Seasoning?
Seasoning refers to the process of applying oil to the surface of cast iron cookware and baking it at high temperatures. This process forms a polymerized layer that bonds with the metal, creating a protective coating that improves the pot's cooking characteristics. The seasoning layer helps to prevent sticking, makes cleaning easier, and adds a layer of flavor to the food.
Why is Seasoning Important?
Without proper seasoning, a cast iron Dutch oven can rust over time and may not provide the non-stick properties that many cooks desire. Additionally, a well-seasoned pot improves the overall cooking experience by providing even heat distribution. This is particularly important for slow-cooking dishes or when searing meats. A well-maintained Dutch oven can last for generations, making it a worthwhile investment in your culinary toolkit.
How to Season Your Dutch Oven
1. Choose the Right Oil While you can use various oils for seasoning, vegetable oil, flaxseed oil, or grapeseed oil are popular choices due to their high smoke points and neutral flavors. Avoid using butter or olive oil, as their lower smoke points can create a sticky residue.
seasoning dutch oven cast iron

2. Clean Your Dutch Oven Before seasoning, make sure your Dutch oven is clean and dry. If it’s new, it may have a factory coating that needs to be removed. Use hot, soapy water and a stiff brush to scrub off any residues or protective coatings. For old or rusty cookware, a gentle scrub with a mixture of vinegar and water can help remove rust.
3. Apply the Oil Using a paper towel or a clean cloth, apply a thin layer of oil to the entire surface of the Dutch oven, including the lid and handle. Be sure to cover both the inside and outside, but avoid using excessive amounts of oil, as this can lead to a sticky surface.
4. Heat the Oven Preheat your oven to around 450°F (230°C). Place the Dutch oven upside down on the middle rack of the oven, and place a baking sheet or aluminum foil on the rack below to catch any drips. This method prevents excess oil from pooling inside the pot.
5. Bake and Cool Bake the Dutch oven for at least one hour. This allows the oil to polymerize effectively. After an hour, turn off the oven and let the Dutch oven cool inside the oven. This gradual cooling process helps to set the seasoning.
6. Repeat if Necessary For optimal results, especially if the surface doesn’t feel non-stick, repeat the oil application and baking process two to three times. The more layers of seasoning you build up, the better protection and non-stick surface you will achieve.
Ongoing Maintenance
After seasoning your Dutch oven, it’s essential to maintain it. Avoid cooking acidic foods, like tomatoes, in a less seasoned pot, as they can strip the seasoning. Always handwash your cast iron with minimal soap and dry it immediately to prevent rusting. After washing, apply a light coat of oil to keep the surface protected.
In conclusion, properly seasoning your Dutch oven will not only enhance your cooking experience but also prolong the life of this invaluable kitchen tool. With just a few simple steps, you can create a beautifully seasoned cast iron Dutch oven, ready to tackle any recipe, from hearty stews to artisanal bread. Happy cooking!
-
Black Cast Iron Pan- ZD Cookware|Non-Stick, Heat ResistantNewsAug.03,2025
-
Cast Iron Cookware Pancake Pan- ZD Cookware|Non-Stick, Even Heat, DurableNewsAug.02,2025
-
Cast Iron Cookware- Baixiang County Zhongda Machinery|Non-Stick, Heat RetentionNewsAug.02,2025
-
High Quality Kitchen Durable Black Round Cast Iron Cookware Pancake Crepe Pan With Wooden Handle|Non-Stick Surface&Heat RetentionNewsAug.02,2025
-
Authentic Traditional Chinese Wok for High-Performance CookingNewsAug.02,2025
-
Season Cast Iron Perfectly with GPT-4 Turbo TipsNewsAug.01,2025


