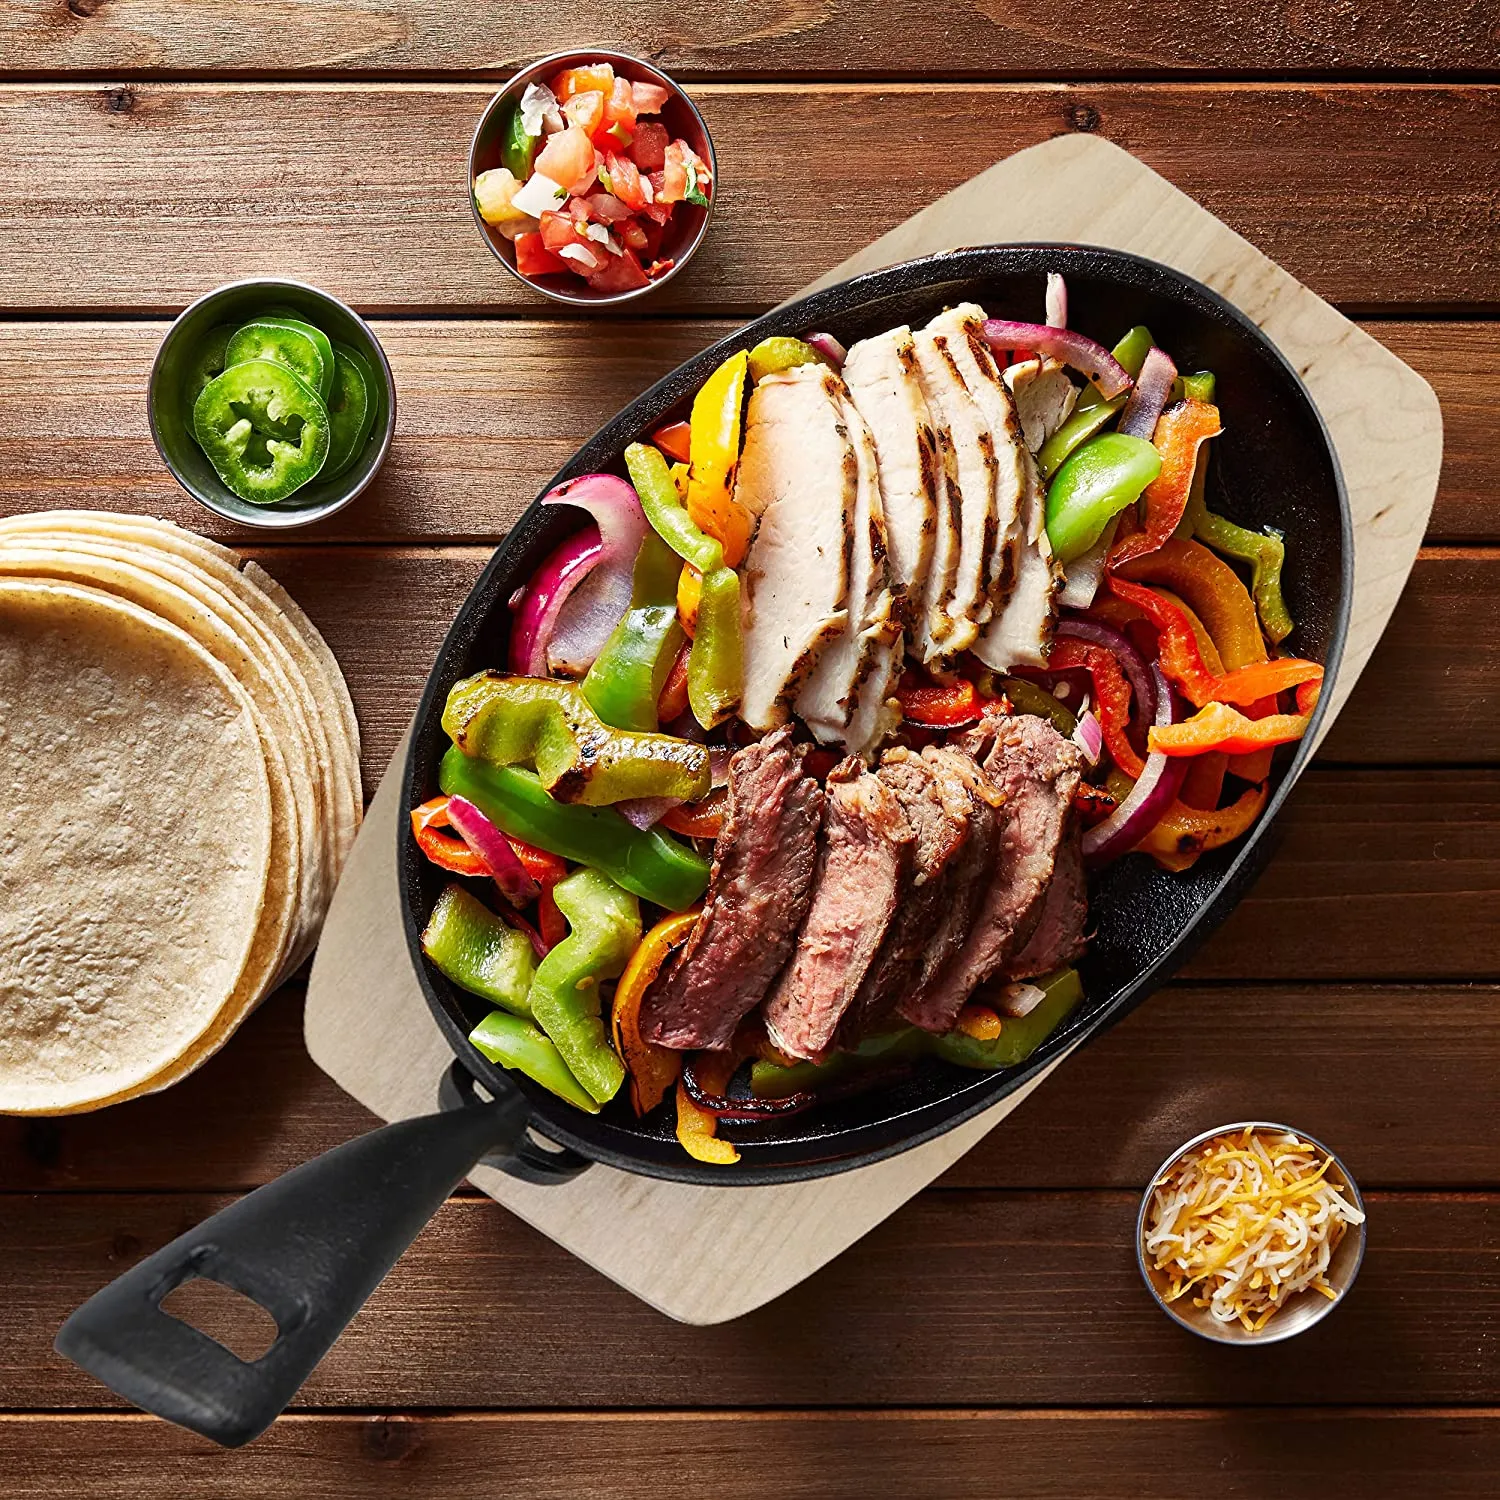
Tips for Perfectly Seasoning Your Cast Iron Cookware at Home
The Art of Seasoning a Cast Iron Pan
Cast iron pans have been treasured in kitchens for centuries, revered not just for their durability and heat retention, but also for the rich flavor they can impart to food. However, the secret to making the most out of a cast iron pan lies in its seasoning. Understanding how to properly season a cast iron pan is essential for both novice cooks and seasoned chefs alike.
What is Seasoning?
Seasoning refers to the process of treating the surface of the cast iron with oil and baking it to create a natural non-stick coating. This coating not only enhances the pan's cooking performance but also protects it from rust. When properly seasoned, a cast iron pan can become a versatile tool in any kitchen, suitable for frying, baking, roasting, and even grilling.
Choosing the Right Oil
The choice of oil is critical to the seasoning process. While you can use a variety of oils, it's recommended to select those with a high smoke point such as flaxseed oil, grapeseed oil, or canola oil. Flaxseed oil is particularly popular among cast iron enthusiasts due to its ability to polymerize and create a durable seasoning layer. Avoid using butter or olive oil, as their low smoke points can lead to a sticky residue when heated.
The Seasoning Process
1. Clean Your Pan Start with a clean and dry cast iron pan. If your pan has any rust or old seasoning flaking off, scrub it with a stiff brush and hot water. For tougher spots, you can use a paste of salt and water or a fine-grade steel wool. Rinse and dry thoroughly.
2. Apply the Oil Once the pan is clean, apply a thin layer of your chosen oil over the entire surface, including the bottom and handle. Use a paper towel or cloth to spread the oil evenly and remove any excess. The goal is to coat the pan lightly; too much oil can lead to a sticky finish.
seasoning cast iron pan

3. Heat the Pan Preheat your oven to 450°F (232°C). Place the pan upside down in the oven to prevent pooling of oil. You may want to place a baking sheet or aluminum foil on a lower rack to catch any drips. Bake the pan for about one hour, allowing the oil to polymerize and form a hard coating.
4. Repeat if Necessary For best results, consider repeating the oil application and heating process three to four times. Building up multiple layers of seasoning will enhance the pan's non-stick properties and extend its lifespan.
5. Cool Down Once the hour is up, turn off the oven and allow the pan to cool inside, which helps to further build the seasoning layer.
Maintaining Your Seasoned Cast Iron Pan
After the initial seasoning, maintaining the cast iron pan is straightforward. Always clean your pan without soap, using warm water and a stiff brush. For stubborn food residues, a sprinkle of coarse salt can act as an effective abrasive. Dry the pan thoroughly to prevent rust, and routinely apply a thin layer of oil after use. This regular maintenance will keep the seasoning intact and the pan performing optimally.
Benefits of a Well-Seasoned Cast Iron Pan
A well-seasoned cast iron pan not only offers non-stick capabilities but also improves with use. The more you cook with it, the better the seasoning becomes, resulting in enhanced flavors in every dish. Additionally, cast iron pans are incredibly versatile and can be used on the stovetop, in the oven, or even over an open flame.
In conclusion, seasoning a cast iron pan is an art that every home cook should embrace. It transforms a simple piece of cookware into a beloved kitchen companion, capable of elevating everyday meals into culinary delights. With a little care, patience, and the right techniques, you'll discover that a well-seasoned cast iron pan can become a cornerstone of your cooking repertoire for generations to come. So roll up your sleeves, get your oil ready, and start seasoning!
-
Season Cast Iron Perfectly with GPT-4 Turbo TipsNewsAug.01,2025
-
High Quality Cast Iron Cookware - Baixiang County Zhongda MachineryNewsAug.01,2025
-
Premium Cast Iron Pan: Durable & Perfect HeatNewsAug.01,2025
-
High Quality Kitchen Durable Black Round Cast Iron Cookware Pancake Crepe Pan-Baixiang County Zhongda Machinery Manufacturing Co., Ltd.NewsAug.01,2025
-
Cast Iron Cookware - Baixiang County Zhongda Machinery | Nonstick, Heat ResistanceNewsAug.01,2025
-
High Quality Kitchen Durable Black Round Cast Iron Cookware - Baixiang County Zhongda Machinery | Non-Stick, Heat Retention, DurableNewsJul.31,2025


