Essential Guide to Seasoning Your Camp Oven for Perfect Cooking Results
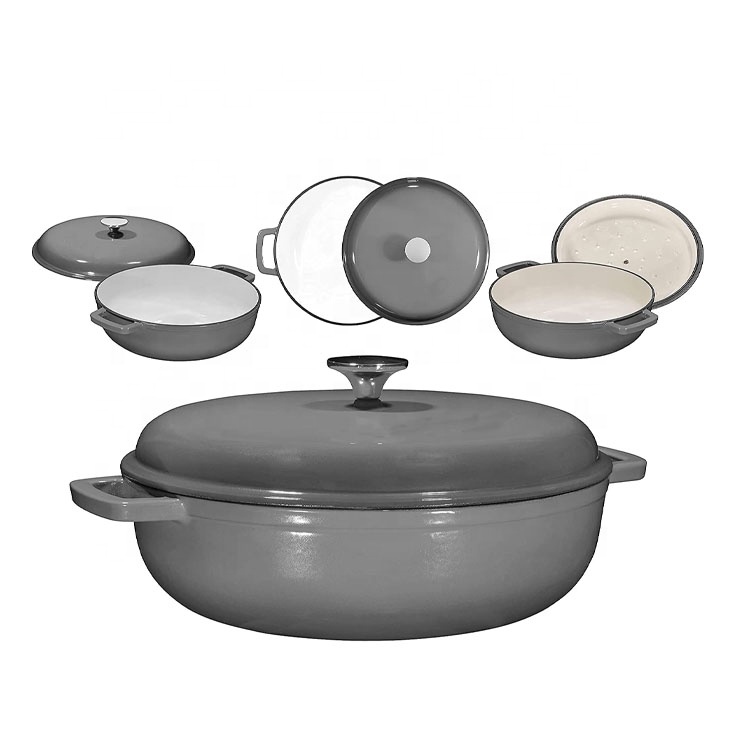
Seasoning a camp oven is an essential step that transforms a simple cast iron pot into a highly effective cooking tool. Proper seasoning not only enhances the flavor of the food prepared in it but also creates a natural non-stick surface that makes cooking and cleaning a breeze. Here’s a guide on how to properly season your camp oven for optimal use.
.
First, thoroughly clean your camp oven. If it’s new, it may have a protective coating that needs to be removed. Scrub the oven with hot water and a sponge to eliminate any residues. For older ovens, ensure there are no rust spots by addressing them with steel wool or a stiff brush. Once cleaned, dry the oven completely to prevent moisture from interfering with the seasoning process.
seasoning a camp oven

Next, apply your oil. Use a paper towel to rub a thin layer of vegetable oil or shortening over the entire surface, including the lid, inside and out. It’s vital not to overdo it; too much oil can lead to a sticky surface rather than a smooth finish. Wipe away any excess oil with a clean paper towel.
Now it’s time to heat the oven. If using a campfire, place the oven on hot coals or set it on a grill rack over the fire. If you opt for a conventional oven, set it to 350°F (175°C) and place the camp oven upside down on the middle rack. This allows the oil to bake into the cast iron, creating a seasoned layer. For about one hour, let the heat do its work. Once time is up, carefully remove the oven and let it cool completely.
Repeat this process two to three times for best results. After seasoning, your camp oven will not only be ready for cooking but will also develop a beautiful, dark patina over time, enhancing its non-stick capabilities. With proper care and seasoning, your camp oven can last for generations, making it a staple for outdoor cooking adventures.
-
Season Cast Iron Perfectly with GPT-4 Turbo TipsNewsAug.01,2025
-
High Quality Cast Iron Cookware - Baixiang County Zhongda MachineryNewsAug.01,2025
-
Premium Cast Iron Pan: Durable & Perfect HeatNewsAug.01,2025
-
High Quality Kitchen Durable Black Round Cast Iron Cookware Pancake Crepe Pan-Baixiang County Zhongda Machinery Manufacturing Co., Ltd.NewsAug.01,2025
-
Cast Iron Cookware - Baixiang County Zhongda Machinery | Nonstick, Heat ResistanceNewsAug.01,2025
-
High Quality Kitchen Durable Black Round Cast Iron Cookware - Baixiang County Zhongda Machinery | Non-Stick, Heat Retention, DurableNewsJul.31,2025


