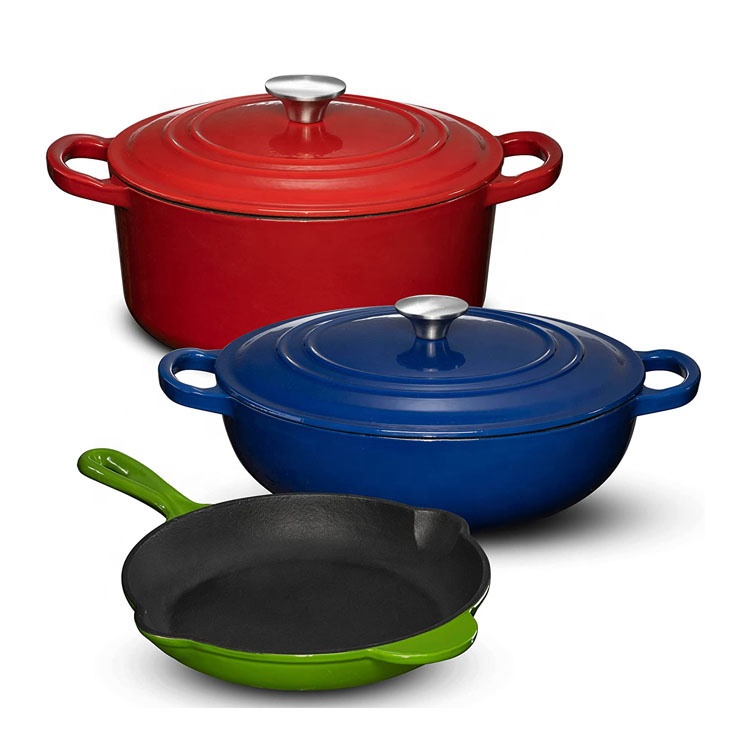
seasoned cast iron dutch oven
The Art of Seasoning a Cast Iron Dutch Oven
A cast iron Dutch oven is a beloved kitchen staple, renowned for its versatility, durability, and excellent heat retention. From slow-cooked stews to freshly baked bread, this kitchen workhorse can elevate your culinary creations. However, to unlock its full potential, proper seasoning is essential. Seasoning not only enhances the non-stick properties of the cast iron but also protects it from rust and adds flavor to your dishes over time.
Understanding Seasoning
Seasoning is the process of applying a layer of oil to the surface of the cast iron and then heating it to create a natural, durable non-stick coating. This process polymerizes the fat, forming a patina that can withstand high heat and improve with each use. A well-seasoned Dutch oven will have a smooth, shiny surface that enhances your cooking experience.
Selecting the Right Oil
Choosing the right oil is crucial for effective seasoning. Oils with high smoke points, such as flaxseed oil, canola oil, or grapeseed oil, are ideal. Flaxseed oil, in particular, is favored by many seasoned chefs because it creates a robust seasoning layer. Avoid using olive oil, as its lower smoke point can lead to a sticky, uneven finish.
The Seasoning Process
1. Clean the Dutch Oven If your Dutch oven is brand new or has lost its seasoning, start by thoroughly washing it with warm, soapy water. For older, neglected pieces, a gentle scrub with a steel wool pad may be necessary to remove any rust or previous seasoning remnants. Rinse and dry it completely.
seasoned cast iron dutch oven

2. Apply the Oil Pour a small amount of your chosen oil into the Dutch oven. Using a paper towel or cloth, spread the oil evenly over the entire surface, including the lid and the handle. Wipe away any excess oil; a thin layer is all you need for effective seasoning.
3. Heat the Oven Preheat your oven to around 450°F (232°C). Place the Dutch oven upside down on the middle rack of the oven. This positioning allows any excess oil to drip off, preventing pooling and creating a smoother surface. You can place a baking sheet on the lower rack to catch any drips.
4. Bake for an Hour Let the Dutch oven bake for about one hour. This process will help the oil polymerize, creating a solid, non-stick layer. After an hour, turn off the oven and let the Dutch oven cool inside. This gradual cooling process further enhances the seasoning.
5. Repeat If Necessary For optimal results, you may want to repeat the seasoning process two to three times. Each layer will build up, making the surface increasingly non-stick and resilient.
Maintaining Your Seasoned Dutch Oven
Once your Dutch oven is seasoned, you’ll want to maintain it properly. Avoid washing it with soap after cooking unless absolutely necessary; instead, a hot water rinse and gentle scrub with a soft sponge should suffice. After drying, apply a light coat of oil to keep the seasoning intact. Store your Dutch oven in a dry place, with a paper towel or cloth inside to absorb moisture, preventing rust.
Conclusion
Seasoning a cast iron Dutch oven is an art that pays off in spades. With a little bit of care and the right technique, you can create a seasoned surface that enhances your cooking while ensuring your Dutch oven lasts for generations. So the next time you reach for your cast iron, remember that the secret to its success lies in the seasoning. Happy cooking!
-
Season Cast Iron Perfectly with GPT-4 Turbo TipsNewsAug.01,2025
-
High Quality Cast Iron Cookware - Baixiang County Zhongda MachineryNewsAug.01,2025
-
Premium Cast Iron Pan: Durable & Perfect HeatNewsAug.01,2025
-
High Quality Kitchen Durable Black Round Cast Iron Cookware Pancake Crepe Pan-Baixiang County Zhongda Machinery Manufacturing Co., Ltd.NewsAug.01,2025
-
Cast Iron Cookware - Baixiang County Zhongda Machinery | Nonstick, Heat ResistanceNewsAug.01,2025
-
High Quality Kitchen Durable Black Round Cast Iron Cookware - Baixiang County Zhongda Machinery | Non-Stick, Heat Retention, DurableNewsJul.31,2025


