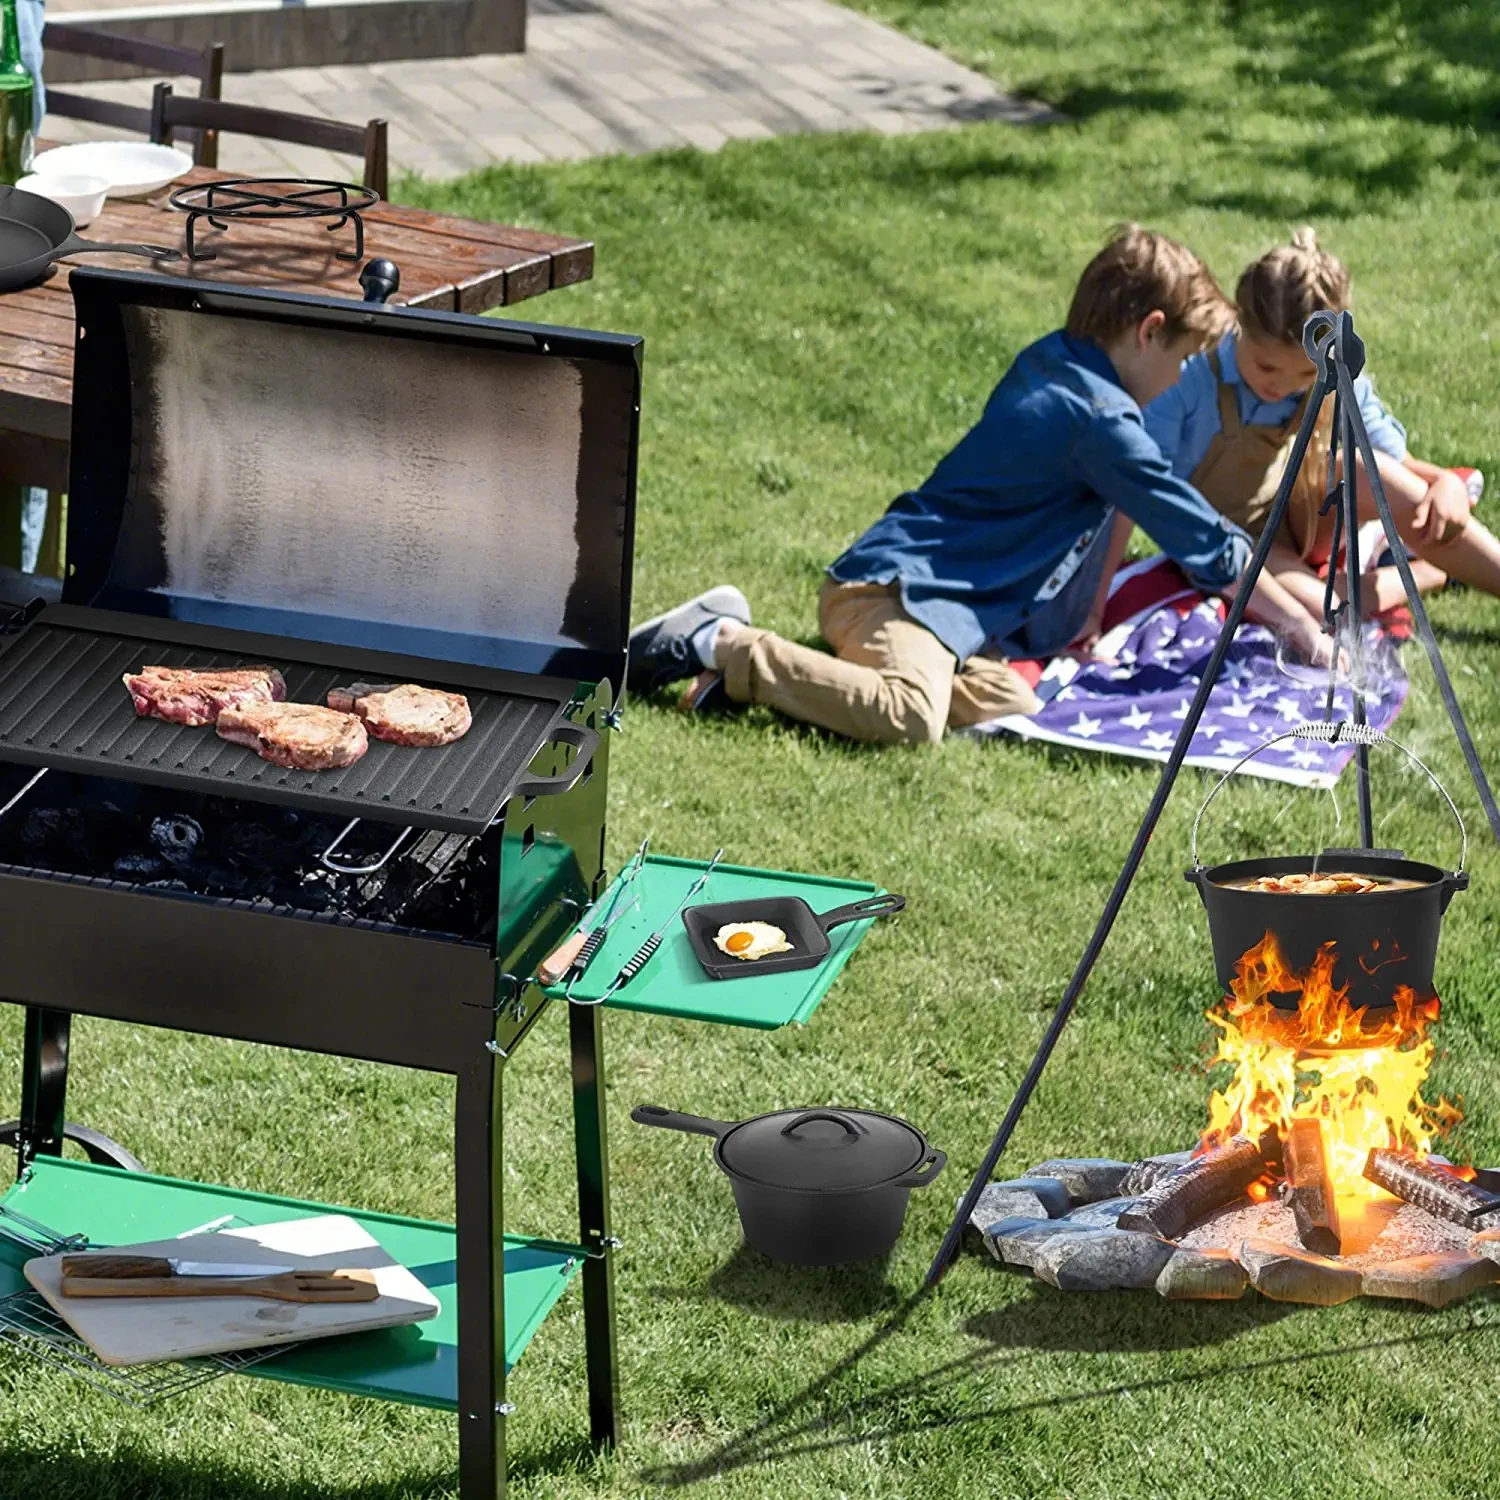
reseasoning cast iron skillet
Reseasoning Your Cast Iron Skillet A Step-by-Step Guide
Cast iron skillets are culinary treasures known for their heat retention, durability, and non-stick properties when properly seasoned. However, over time, even the most cherished skillet can lose its luster, acquiring rust, food residue, or a dull appearance. Luckily, reseasoning your cast iron skillet is a straightforward process that can restore its functionality, improve its cooking surface, and enhance the flavors of your dishes. This guide will walk you through the essential steps to reseason your cast iron skillet effectively.
Understanding the Importance of Seasoning
Before diving into the reseasoning process, it’s essential to understand what seasoning is and why it matters. Seasoning refers to the process of applying a layer of oil to the cast iron skillet and heating it, which creates a natural non-stick surface through polymerization. This not only prevents rusting but also enhances the skillet's ability to retain heat and flavor.
Prepare Your Skillet
1. Cleaning Start by thoroughly cleaning your skillet. Use warm water and a stiff brush or non-metal scrubber to remove any food particles, grease, or rust. Avoid soap, as it can strip the skillet of its existing seasoning. If your skillet is particularly rusty, you might need to use steel wool to scrub away the rust.
2. Drying After cleaning, dry your skillet completely. Cast iron can rust quickly if not dried promptly; you can use a towel or place it on low heat on the stove for a few minutes to evaporate any remaining moisture.
Reseasoning Process
1. Choosing the Right Oil Selecting the best oil for seasoning is crucial. Look for oils with a high smoke point, such as flaxseed oil, grapeseed oil, canola oil, or vegetable oil. Flaxseed oil is particularly popular among cast iron enthusiasts due to its ability to create a hard, durable coating.
2. Applying the Oil Once you’ve chosen your oil, pour a small amount (about a teaspoon) onto the skillet. Use a paper towel or cloth to spread the oil evenly over the entire surface, including the bottom and handle. Make sure to wipe off any excess oil—too much oil can lead to a sticky surface.
reseasoning cast iron skillet

3. Heating the Skillet Preheat your oven to 450°F (232°C). Place a sheet of aluminum foil or a baking tray on the lower rack to catch any drips. Once the oven is hot, place your oiled skillet upside down on the upper rack. This ensures that the oil doesn’t pool in the skillet, promoting an even seasoning layer.
4. Baking Time Allow the skillet to bake for at least one hour. This process helps the oil adhere to the skillet and creates a strong bond. After the hour is up, turn off the oven and let the skillet cool inside. This gradual cooling process helps the seasoning set properly.
Maintaining Your Seasoned Skillet
After reseasoning your cast iron skillet, maintaining it is key to prolonging its lifespan. Here are a few tips for everyday care
- Cleaning After Use After cooking, clean the skillet with hot water and a stiff brush. Avoid using soap or placing it in the dishwasher, as these can strip the seasoning. For stuck-on food, use a bit of coarse salt to scrub the surface.
- Drying and Oil Application Always dry your skillet immediately after washing. It’s a good idea to apply a light coat of oil before storing it to keep it seasoned and prevent rust.
- Regular Use The more you use your cast iron skillet, the better the seasoning will become. Cooking with fats (like bacon or oils) will naturally help to enhance the non-stick surface over time.
Conclusion
Reseasoning your cast iron skillet is not just a matter of aesthetics; it’s about maintaining a vital tool in your kitchen that can elevate your cooking experience. By following these steps, you’ll ensure that your skillet remains a reliable companion for years to come, allowing you to create delicious meals with ease. Embrace the process, and enjoy the satisfaction of restoring and using your cast iron skillet!
-
Season Cast Iron Perfectly with GPT-4 Turbo TipsNewsAug.01,2025
-
High Quality Cast Iron Cookware - Baixiang County Zhongda MachineryNewsAug.01,2025
-
Premium Cast Iron Pan: Durable & Perfect HeatNewsAug.01,2025
-
High Quality Kitchen Durable Black Round Cast Iron Cookware Pancake Crepe Pan-Baixiang County Zhongda Machinery Manufacturing Co., Ltd.NewsAug.01,2025
-
Cast Iron Cookware - Baixiang County Zhongda Machinery | Nonstick, Heat ResistanceNewsAug.01,2025
-
High Quality Kitchen Durable Black Round Cast Iron Cookware - Baixiang County Zhongda Machinery | Non-Stick, Heat Retention, DurableNewsJul.31,2025


