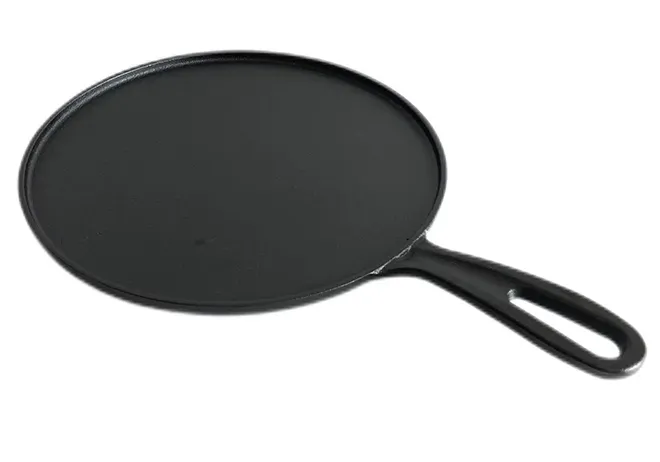
redoing cast iron skillet
Redoing a Cast Iron Skillet A Comprehensive Guide
Cast iron skillets are renowned for their durability and excellent heat retention, making them a kitchen staple in many households. Over time, however, these beloved pans can accumulate rust, food residue, and a deteriorating seasoning layer that affects their performance. If you have an old cast iron skillet that needs revitalization, don’t worry! Redoing your skillet can restore it to its former glory and provide you with a reliable cooking companion for years to come.
Step 1 Gather Your Materials
Before starting the restoration process, it’s essential to gather all necessary supplies. You will need
- Steel wool or a wire brush - A non-toxic cleaner (like vinegar or baking soda) - Dish soap - Cooking oil (flaxseed oil, vegetable oil, or shortening for seasoning) - A clean cloth or paper towels - An oven
Step 2 Remove Rust and Old Seasoning
The first step in redoing your cast iron skillet is to remove any rust and old seasoning. Begin by using steel wool or a wire brush to scrub the surface of the skillet vigorously. If your skillet has severe rust, soaking it in a vinegar solution (equal parts vinegar and water) for about an hour can help loosen the rust. After soaking, scrub the surface again to remove any remaining rust and debris.
Rinse the skillet thoroughly with water and apply a small amount of dish soap if needed to remove any lingering residue. While some purists discourage using soap on cast iron, it’s acceptable during the restoration process since the goal is to start fresh.
redoing cast iron skillet

Step 3 Dry Thoroughly
Once you’ve cleaned the skillet, it’s crucial to dry it immediately to prevent further rusting. You can place it on a stovetop over low heat for a few minutes to ensure all moisture evaporates. This step is vital as moisture is the enemy of cast iron.
Step 4 Season Your Skillet
Seasoning is what gives cast iron skillets their non-stick quality and protects them from rust. To season your skillet, apply a thin layer of cooking oil evenly across the entire surface, including the handle and outside. Make sure to wipe away any excess oil to avoid a sticky finish.
Preheat your oven to 450°F (232°C) and place the skillet upside down on the middle rack. Placing a baking sheet or foil beneath it will catch any drips. Bake the skillet for one hour, then turn off the oven and let the skillet cool inside. This process should be done a couple of times to build up a robust seasoning layer.
Step 5 Maintenance Tips
Now that your cast iron skillet is beautifully redone and seasoned, maintaining it is essential for longevity. After each use, avoid soaking the skillet in water. Instead, wipe it clean with a paper towel or brush away food particles. For stubborn residue, a little salt can be used as an abrasive, followed by a rinse with water. Always dry thoroughly and apply a light coating of oil before storing it.
In conclusion, redoing a cast iron skillet is a rewarding process that revives your cooking tool and allows you to enjoy the many benefits of cast iron cooking. By following these steps, you can transform your neglected skillet into a cherished kitchen companion that enriches your culinary adventures.
-
Season Cast Iron Perfectly with GPT-4 Turbo TipsNewsAug.01,2025
-
High Quality Cast Iron Cookware - Baixiang County Zhongda MachineryNewsAug.01,2025
-
Premium Cast Iron Pan: Durable & Perfect HeatNewsAug.01,2025
-
High Quality Kitchen Durable Black Round Cast Iron Cookware Pancake Crepe Pan-Baixiang County Zhongda Machinery Manufacturing Co., Ltd.NewsAug.01,2025
-
Cast Iron Cookware - Baixiang County Zhongda Machinery | Nonstick, Heat ResistanceNewsAug.01,2025
-
High Quality Kitchen Durable Black Round Cast Iron Cookware - Baixiang County Zhongda Machinery | Non-Stick, Heat Retention, DurableNewsJul.31,2025


