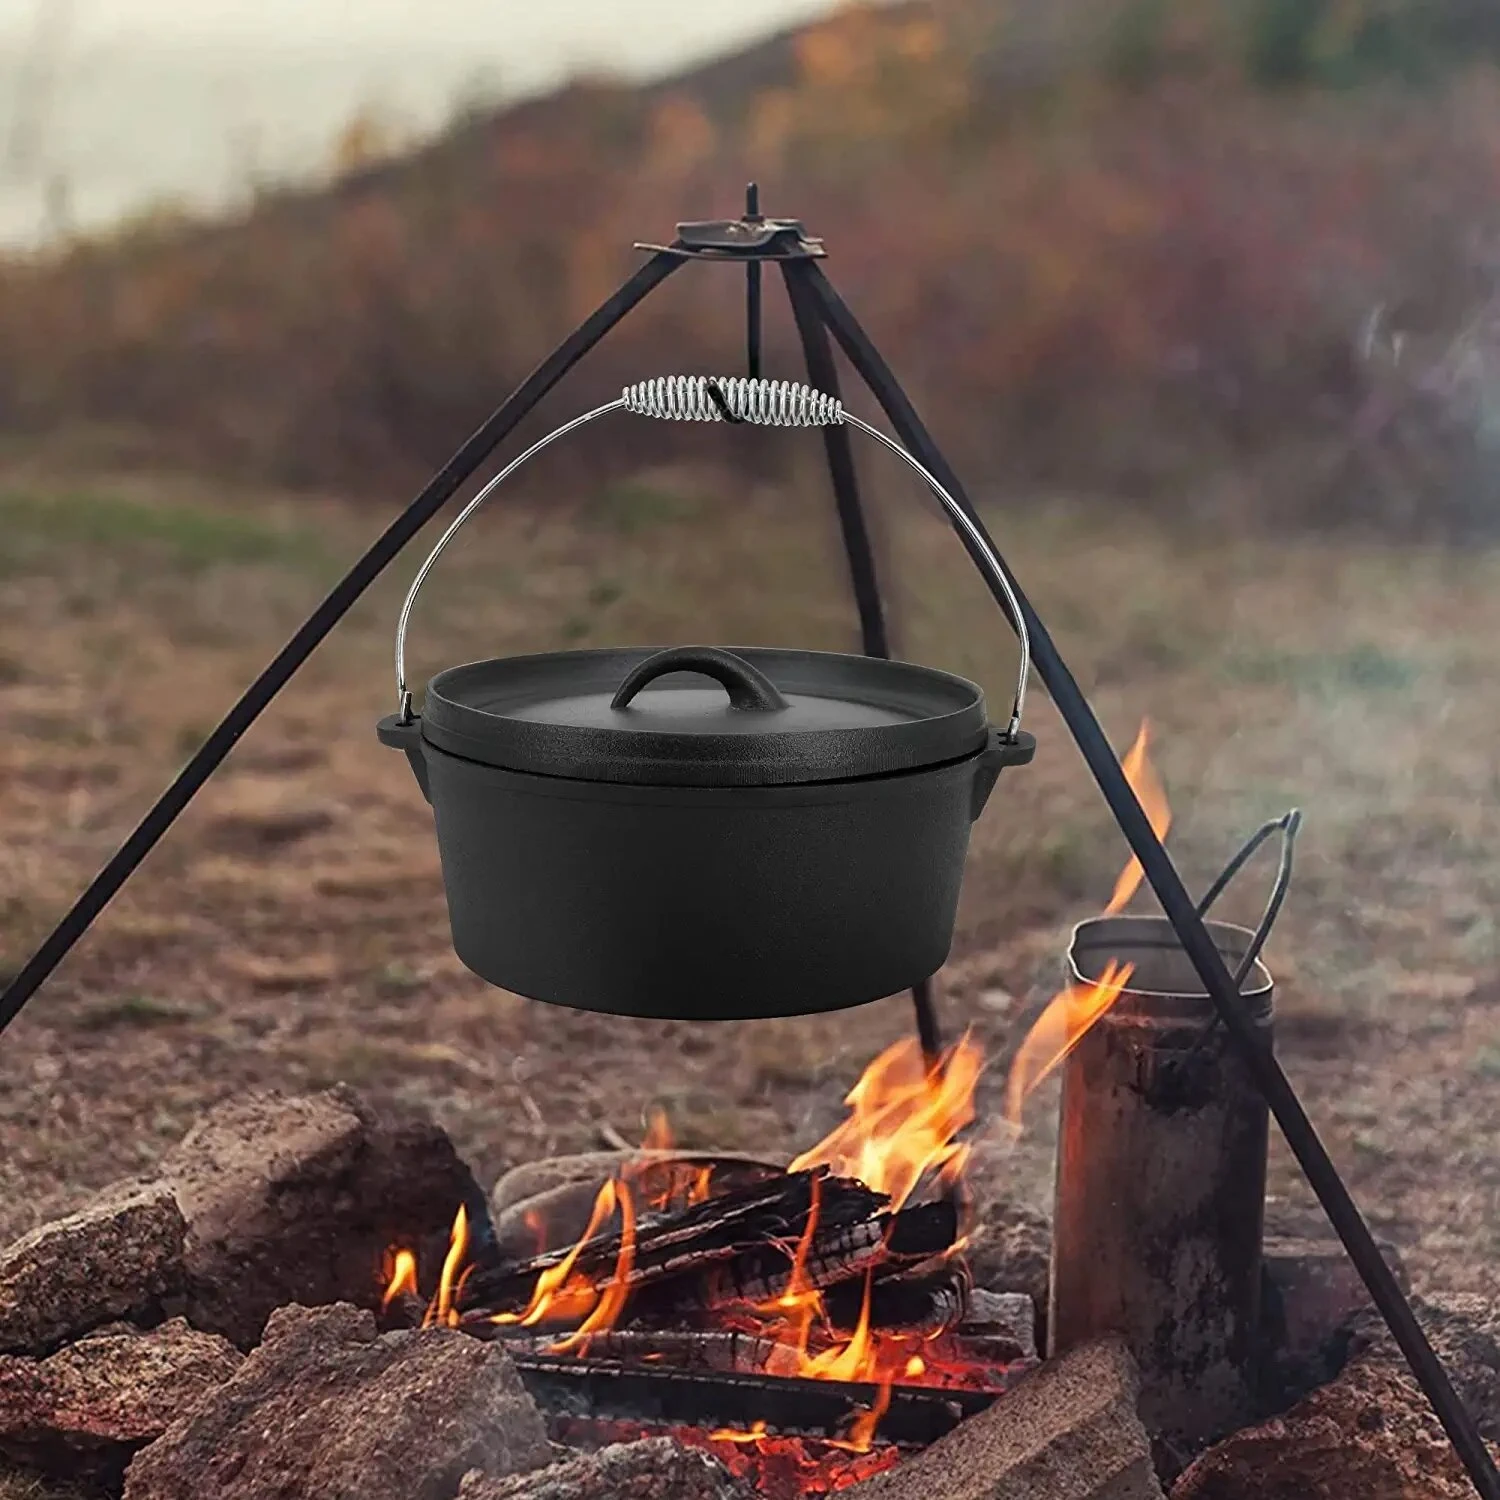
cleaning ceramic dutch oven
Cleaning Your Ceramic Dutch Oven Tips and Techniques
Ceramic Dutch ovens are beloved kitchen staples, celebrated for their versatility and ability to evenly cook a variety of dishes. From hearty stews to artisan breads, these durable pots are a must-have. However, like any kitchenware, they require proper cleaning and maintenance to prolong their lifespan and ensure optimal performance. In this article, we will explore effective methods and tips for cleaning your ceramic Dutch oven.
Understanding Your Ceramic Dutch Oven
Before diving into cleaning techniques, it’s essential to understand the construction and properties of ceramic Dutch ovens. Generally made from clay and fired at high temperatures, ceramic is known for its excellent heat retention and distribution. However, its surface can be prone to stains, scratches, and chips if not cared for properly.
Essential Cleaning Tools
To clean your ceramic Dutch oven effectively, you'll need a few basic tools
1. Soft Sponge or Dish Cloth Avoid abrasive sponges that can scratch the ceramic surface. 2. Mild Dish Soap Look for a non-toxic, biodegradable option to protect both the pot and the environment. 3. Baking Soda A natural abrasive that can help with tougher stains without damaging the surface. 4. White Vinegar Effective for removing odors and stains. 5. Microfiber Cloth Perfect for drying and polishing your Dutch oven.
Step-by-Step Cleaning Process
1. Let It Cool After cooking, allow your Dutch oven to cool down completely. Never plunge a hot pot into cold water as this can cause cracks. 2. Soak If Necessary For tough food residues or baked-on grime, fill the pot with warm, soapy water and allow it to soak for 15-20 minutes. This will help loosen any stubborn bits.
cleaning ceramic dutch oven

3. Use a Soft Sponge After soaking, use a soft sponge or dish cloth to gently scrub the interior and exterior of the pot. Focus on areas with stuck-on food, but avoid using steel wool or abrasive pads that can scratch the surface.
4. Baking Soda Paste for Stains For persistent stains, create a paste using baking soda and a small amount of water. Apply this mixture to the stained area, let it sit for about 30 minutes, then rinse and scrub gently.
5. Vinegar Rinse To eliminate odors, rinse the pot with a solution of equal parts vinegar and water. This will not only help remove lingering smells but also restore the shine of the ceramic.
6. Thorough Rinse After cleaning, ensure to rinse away all soap and cleaning agents thoroughly. Residue can affect the flavor of future dishes.
7. Dry Completely Use a microfiber cloth or air dry the pot completely before storing it. It’s essential to store it without any moisture to prevent any potential mold growth.
Additional Care Tips
- Avoid Extreme Temperature Changes Rapid changes in temperature can cause thermal shock, leading to cracks. Avoid placing a cold pot onto a hot burner or vice versa. - Regular Maintenance Clean your Dutch oven after each use to prevent buildup. A little maintenance goes a long way in preserving its beauty and functionality.
- Store Properly If stacking with other pots, place a soft cloth between them to avoid scratches.
In conclusion, cleaning your ceramic Dutch oven doesn’t have to be a daunting task. With the right tools and techniques, you can keep it in pristine condition, ready for your next culinary adventure. By investing time in proper care, you ensure that your Dutch oven remains a cherished part of your kitchen for years to come.
-
Season Cast Iron Perfectly with GPT-4 Turbo TipsNewsAug.01,2025
-
High Quality Cast Iron Cookware - Baixiang County Zhongda MachineryNewsAug.01,2025
-
Premium Cast Iron Pan: Durable & Perfect HeatNewsAug.01,2025
-
High Quality Kitchen Durable Black Round Cast Iron Cookware Pancake Crepe Pan-Baixiang County Zhongda Machinery Manufacturing Co., Ltd.NewsAug.01,2025
-
Cast Iron Cookware - Baixiang County Zhongda Machinery | Nonstick, Heat ResistanceNewsAug.01,2025
-
High Quality Kitchen Durable Black Round Cast Iron Cookware - Baixiang County Zhongda Machinery | Non-Stick, Heat Retention, DurableNewsJul.31,2025


