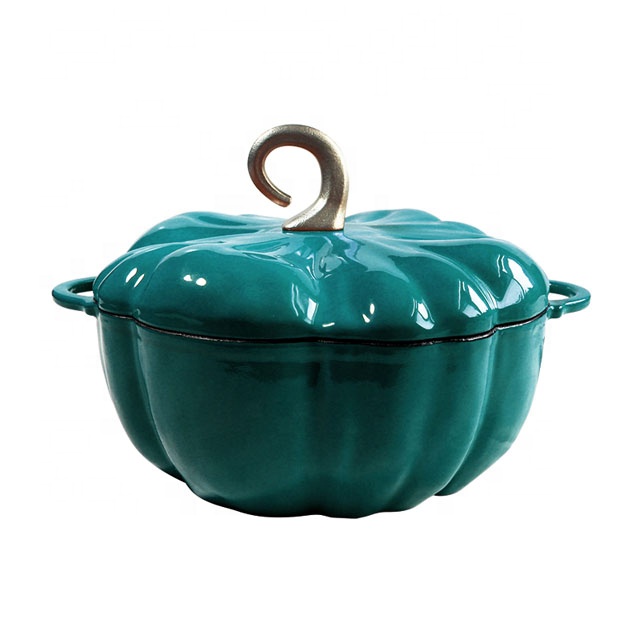
cleaning a dutch oven
Cleaning a Dutch Oven A Step-by-Step Guide to Keep Your Cookware in Top Shape
A Dutch oven is a versatile and indispensable piece of cookware in any kitchen. Whether you’re slow-cooking a hearty stew, baking bread, or roasting meats, this heavy pot is designed to withstand high temperatures and distribute heat evenly. However, with great cooking comes great responsibility – and that includes keeping your Dutch oven clean and well-maintained. Here’s a comprehensive guide on how to clean a Dutch oven effectively.
Why Clean Your Dutch Oven?
Before diving into the cleaning process, it’s essential to understand why maintaining your Dutch oven is crucial. Residue from previous meals can impact the flavor of future dishes, and neglecting to clean it properly can lead to rust, especially if your Dutch oven is made of cast iron. Moreover, built-up grease and food particles can harbor bacteria, compromising food safety.
Materials Needed
To clean your Dutch oven, gather the following materials - Soft sponge or dishcloth - Mild dish soap - Baking soda - Water - White vinegar (optional) - Wooden spoon or spatula - Heavy-duty scrub brush (for stubborn stains) - Oil (for seasoning)
Cleaning Process
Step 1 Let It Cool
Always allow your Dutch oven to cool down before attempting to clean it. Sudden temperature changes can warp the metal, especially in cast iron cookware. If you're in a hurry, wait at least 30 minutes after cooking.
Step 2 Remove Food Residues
Using a wooden spoon or spatula, gently scrape off any stuck-on food residue. This step helps loosen the bits that are more challenging to remove during washing.
Step 3 Wash With Soap and Water
cleaning a dutch oven

Fill your sink or basin with warm, soapy water. Using a soft sponge or dishcloth, gently wash the interior and exterior of the Dutch oven. Avoid using abrasive scrubbers, as they can scratch the enamel surface or strip seasoning from cast iron pots.
Step 4 Address Stubborn Stains
For stubborn stains or burnt-on food, sprinkle a generous amount of baking soda inside the pot, then add a little water to form a paste. Let it sit for about 15-30 minutes. This natural abrasive will help lift tough stains without damaging the surface. For extremely tough spots, a heavy-duty scrub brush can be used, but proceed with caution.
Step 5 Rinse Thoroughly
Once the stains are lifted, rinse your Dutch oven thoroughly with warm water to remove any soap residue. It’s crucial to ensure no soap remains, as it may affect the flavor of future dishes.
Step 6 Dry Properly
After rinsing, dry your Dutch oven completely with a clean towel. If it’s made of cast iron, it’s especially important to ensure it’s entirely dry to prevent rusting. You can also place it on a low heat on the stovetop for a few minutes to evaporate any remaining moisture.
Step 7 Season (for Cast Iron)
If you have a cast iron Dutch oven, it’s essential to season it to maintain its non-stick surface and protect it from rust. After cleaning and drying, apply a thin layer of vegetable oil or flaxseed oil inside the pot. Use a paper towel to spread it evenly and wipe away any excess oil. Place the pot upside down in a preheated oven at 375°F (190°C) for about an hour. This process will create a protective layer that enhances the pot's cooking performance.
Final Thoughts
Cleaning a Dutch oven isn’t as daunting as it may seem. With the proper care and maintenance, your Dutch oven can last a lifetime, providing you with countless delicious meals. Remember to clean it promptly after use, and consider its material when choosing your cleaning approach. Whether enameled or cast iron, your Dutch oven deserves the best treatment to keep it looking and performing at its best. Happy cooking!
-
Season Cast Iron Perfectly with GPT-4 Turbo TipsNewsAug.01,2025
-
High Quality Cast Iron Cookware - Baixiang County Zhongda MachineryNewsAug.01,2025
-
Premium Cast Iron Pan: Durable & Perfect HeatNewsAug.01,2025
-
High Quality Kitchen Durable Black Round Cast Iron Cookware Pancake Crepe Pan-Baixiang County Zhongda Machinery Manufacturing Co., Ltd.NewsAug.01,2025
-
Cast Iron Cookware - Baixiang County Zhongda Machinery | Nonstick, Heat ResistanceNewsAug.01,2025
-
High Quality Kitchen Durable Black Round Cast Iron Cookware - Baixiang County Zhongda Machinery | Non-Stick, Heat Retention, DurableNewsJul.31,2025


