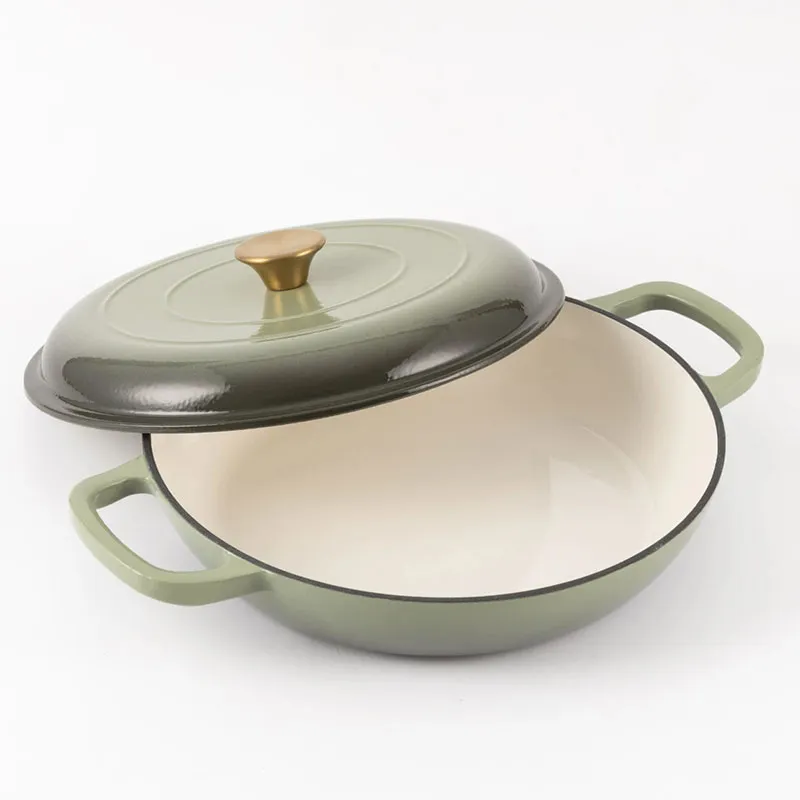
Best Cast Iron Skillet for Perfect Panini Pressing at Home
The Versatile Cast Iron Skillet Your Ultimate Panini Press
In the world of culinary tools, few items can match the versatility and durability of a cast iron skillet. While traditionally known for frying, sautéing, and baking, this heavy-duty cookware can also be an exceptional panini press. If you are a fan of gourmet sandwiches, learning how to leverage your cast iron skillet as a panini press can transform your home cooking experience.
The Cast Iron Advantage
Cast iron skillets have been a staple in kitchens for centuries, cherished for their ability to retain and evenly distribute heat. Unlike non-stick pans, cast iron skillets develop a natural non-stick surface when seasoned correctly, providing an ideal cooking surface for a variety of foods. This is particularly beneficial for making paninis, as the even heat distribution ensures that your sandwich is toasted to perfection.
Choosing the Right Ingredients
The foundation of any great panini lies in its ingredients. To get started, select high-quality bread, such as ciabatta, sourdough, or focaccia. These types hold up well to grilling and allow for a satisfying crunch. Next, choose your fillings. Popular options include a blend of meats, cheeses, and fresh vegetables. For example, a classic combination might consist of roasted turkey, Swiss cheese, and fresh spinach, or you might prefer a vegetarian option with grilled zucchini, mozzarella, and pesto. Don’t be afraid to experiment—your cast iron skillet is simply a tool, and creativity is your best ingredient.
Preparing Your Panini
To create your panini, first, preheat your cast iron skillet over medium heat. If you want to add an extra layer of flavor, you can lightly butter the outside of the bread. This will ensure a golden, crispy exterior. After assembling your sandwich, place it in the skillet gently.
cast iron skillet panini press

Now, it’s time to apply pressure to achieve that signature panini grill effect. Another cast iron skillet makes an excellent weight for this purpose. Simply place the second skillet on top of your sandwich and apply gentle pressure. If you have a brick or weight, you can wrap it in aluminum foil and use that. The goal is to compress the sandwich, allowing the heat to penetrate while also melting the cheese and toasting the bread.
Cooking Time and Techniques
Cooking your panini generally takes about 5-7 minutes on each side. Monitor the sandwich closely to avoid burning. If you notice that the bread is browning too quickly, reduce the heat slightly. Once you've achieved that perfect golden crust, flip the sandwich carefully; the cheese may start to ooze out, but that's part of the charm!
After both sides are cooked evenly, remove the panini from the skillet and allow it to cool for a minute or two. This resting period helps the cheese set a bit, making for an easier bite. Slice your sandwich diagonally, which not only enhances presentation but also gives you a chance to enjoy those gooey, melted cheese strings.
Cleanup and Care
One of the greatest features of cast iron cookware is its resilience. After using your skillet, let it cool before cleaning. Avoid using soap; instead, wipe it down with a paper towel or scrub it with a stiff brush and hot water. This maintenance preserves its seasoning and ensures a non-stick surface for future meals.
Conclusion
Using a cast iron skillet as a panini press is a prime example of how simple kitchen tools can elevate your cooking. With a little creativity, quality ingredients, and the right technique, you can enjoy restaurant-quality paninis right from your home kitchen. So, dust off that cast iron skillet, gather your favorite ingredients, and get grilling—your taste buds will thank you!
-
Season Cast Iron Perfectly with GPT-4 Turbo TipsNewsAug.01,2025
-
High Quality Cast Iron Cookware - Baixiang County Zhongda MachineryNewsAug.01,2025
-
Premium Cast Iron Pan: Durable & Perfect HeatNewsAug.01,2025
-
High Quality Kitchen Durable Black Round Cast Iron Cookware Pancake Crepe Pan-Baixiang County Zhongda Machinery Manufacturing Co., Ltd.NewsAug.01,2025
-
Cast Iron Cookware - Baixiang County Zhongda Machinery | Nonstick, Heat ResistanceNewsAug.01,2025
-
High Quality Kitchen Durable Black Round Cast Iron Cookware - Baixiang County Zhongda Machinery | Non-Stick, Heat Retention, DurableNewsJul.31,2025


