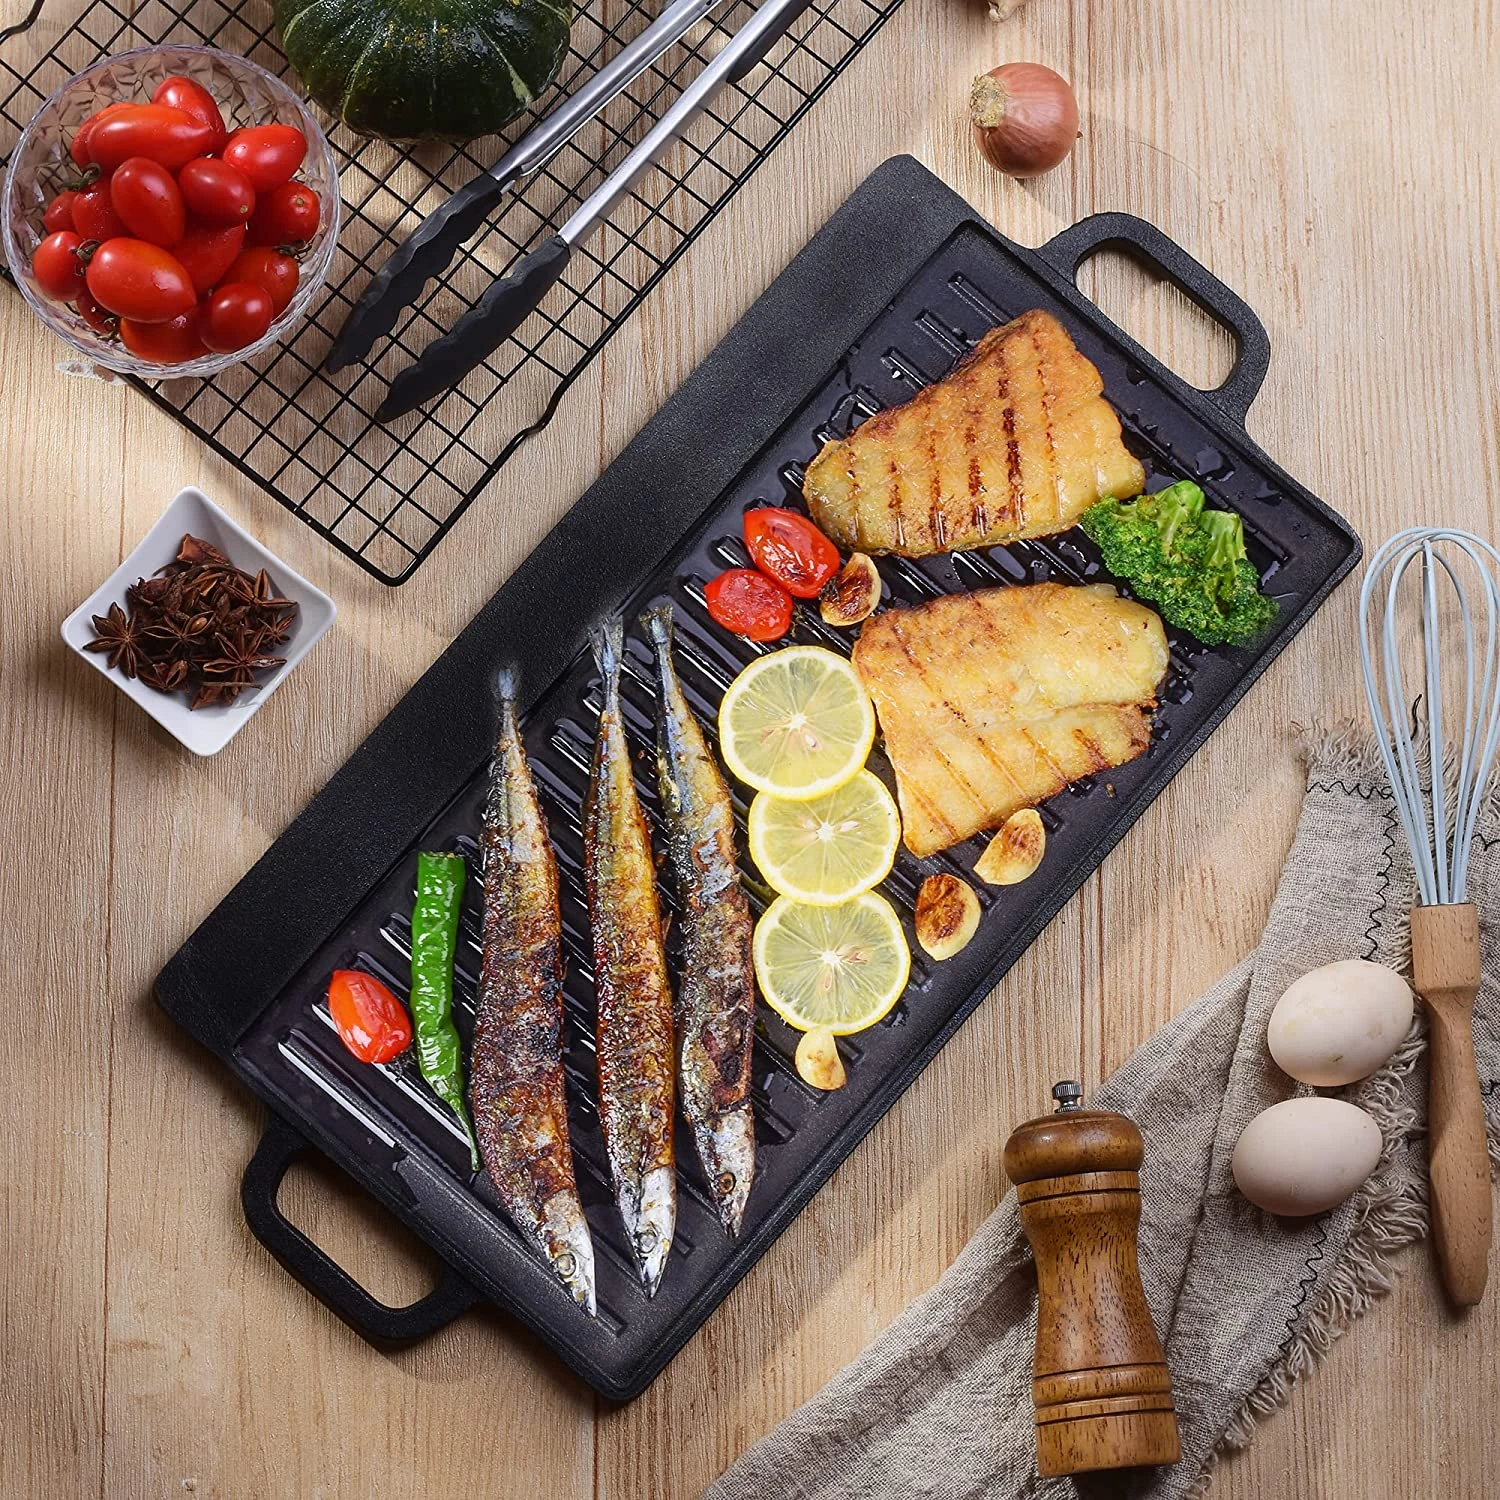
campfire tripod dutch oven
The Ultimate Guide to Using a Campfire Tripod with a Dutch Oven
When it comes to outdoor cooking, few things are as iconic as the campfire. There's something magical about gathering around the flickering flames, sharing stories with friends or family, and enjoying delicious meals under the stars. One of the best ways to elevate your outdoor cooking experience is by using a campfire tripod in conjunction with a Dutch oven. This versatile setup allows you to create a variety of dishes, from stews to baked goods, all while imparting a smoky flavor that can't be replicated indoors.
What is a Campfire Tripod?
A campfire tripod is a simple yet effective cooking tool used over an open flame. Typically constructed of three legs that can be adjusted for height, the tripod supports a hanging cookware system. It allows you to position your pot over the fire at varying heights, making it easy to control cooking temperatures. This setup is particularly useful when you're cooking with a Dutch oven, as it enables even heat distribution while preventing the pot from coming into direct contact with the flames.
The Versatility of a Dutch Oven
A Dutch oven is a heavy-duty pot with a tight-fitting lid, often made of cast iron or enameled cast iron. While it's a favored kitchen tool at home, it truly shines in outdoor settings. With a Dutch oven, you can boil, stew, bake, or roast, making it a versatile companion for any camping adventure. The thick walls of a Dutch oven retain heat exceptionally well, allowing for slow cooking that enhances flavors and textures.
Setting Up Your Campfire Tripod
To get started, you'll need to select a suitable spot for your campfire. Look for a flat area, free of overhanging branches and away from any dry brush. Ideally, you’ll want to use a fire ring for safety. Once your campfire is established and burning steadily, set up your tripod over the fire. Adjust the height to ensure the Dutch oven is far enough above the flames to prevent burning while still allowing for effective cooking.
Cooking with Your Dutch Oven
campfire tripod dutch oven

1. Preparing the Ingredients Before you embark on your camping trip, plan your meals. Pre-chop vegetables, marinate proteins, and pack dry ingredients in resealable bags for easy access. Popular recipes for the Dutch oven include chili, beef stew, and even cornbread.
2. Using Charcoal or Wood While you can cook directly over a campfire, using charcoal briquettes can provide more consistent heat. Once your fire is established, you can place some briquettes on top of the Dutch oven lid for even cooking. A combination of coals underneath and on top can simulate an oven environment, allowing for baking and roasting.
3. Cooking Times Cooking times will vary depending on the recipe and the heat of your fire. Generally, stews or soups can take anywhere from 1 to 4 hours, while baked goods may require less time. Regularly check your food to avoid overcooking or burning.
4. Cleaning Up After you've enjoyed your meal, allow your Dutch oven to cool before cleaning it. Use warm water and a gentle scrub, avoiding soap if you’re using cast iron, as it can strip the seasoning. Dry it thoroughly and apply a light coat of oil to preserve the surface.
Safety Tips
Cooking with a campfire tripod requires mindfulness. Always supervise the fire and be cautious of sparks. Use oven mitts when handling the Dutch oven, as it will become extremely hot. Lastly, ensure that your campfire is fully extinguished before leaving the area.
Conclusion
Using a campfire tripod with a Dutch oven can elevate your outdoor cooking to new levels. The ability to create hearty, flavorful meals while surrounded by nature is a truly rewarding experience. With a bit of planning and practice, you'll be able to impress your fellow campers with delicious dishes cooked over an open flame. So pack your Dutch oven, set up your tripod, and get ready to enjoy a night of culinary adventure under the stars!
-
Authentic Traditional Chinese Wok for High-Performance CookingNewsAug.02,2025
-
Season Cast Iron Perfectly with GPT-4 Turbo TipsNewsAug.01,2025
-
High Quality Cast Iron Cookware - Baixiang County Zhongda MachineryNewsAug.01,2025
-
Premium Cast Iron Pan: Durable & Perfect HeatNewsAug.01,2025
-
High Quality Kitchen Durable Black Round Cast Iron Cookware Pancake Crepe Pan-Baixiang County Zhongda Machinery Manufacturing Co., Ltd.NewsAug.01,2025
-
Cast Iron Cookware - Baixiang County Zhongda Machinery | Nonstick, Heat ResistanceNewsAug.01,2025


