seasoning a camp oven
Seasoning a Camp Oven A Guide to Perfecting Your Outdoor Cooking Experience
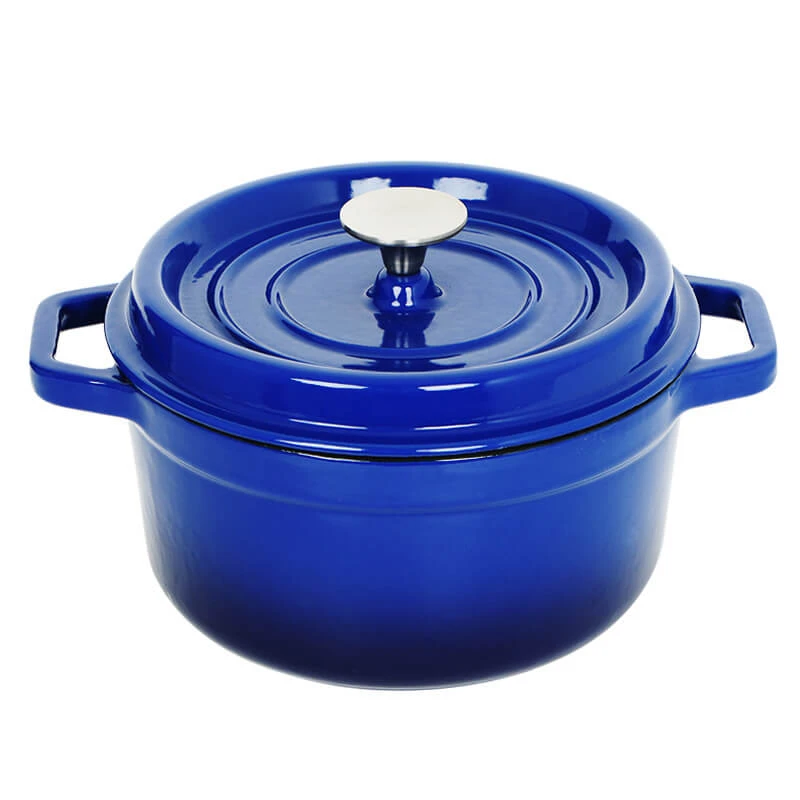
When it comes to outdoor cooking, few tools are as versatile as a camp oven. Whether you're making a hearty stew, baking bread, or roasting meats under the stars, a well-seasoned camp oven can make all the difference in achieving culinary perfection. But before you dive into your next outdoor feast, it's essential to understand the importance of seasoning your camp oven properly.
Why Seasoning is Important
Seasoning a camp oven is a process that creates a non-stick surface and prevents rust, enhancing both the durability and cooking performance of your oven. A well-seasoned oven distributes heat evenly, which helps to prevent hot spots that can burn your food. Additionally, seasoning provides a protective layer that wards off moisture, preserving the integrity of the cast iron over time. Ultimately, seasoning transforms your camp oven into a reliable kitchen companion ready for any outdoor adventure.
The Seasoning Process Step-by-Step
1. Cleaning the Oven Before seasoning, it’s crucial to clean your camp oven thoroughly. If it’s new, wash off any factory residue. If it’s used, scrub out any food particles or old grease. Use warm soapy water and a stiff brush, but avoid abrasive cleaners that could scratch the cast iron. Rinse well and dry completely—moisture is the enemy of seasoning.
2. Applying Oil Once your oven is clean and dry, it’s time to apply oil. Use a high-smoke-point oil like flaxseed oil, grape seed oil, or vegetable oil. Pour a small amount into the oven and use a cloth or paper towel to spread it evenly over the interior and exterior surfaces. Ensure you coat all surfaces, including the lid and the base.
seasoning a camp oven

3. Heating the Oven The next step is to heat the oven to bond the oil to the cast iron. Preheat your home oven to around 375°F (190°C) or set up a campfire if you’re outside. If using a home oven, place a baking sheet on a lower rack to catch any drips. Place your camp oven upside down on the upper rack to allow excess oil to drain off. Bake for at least one hour, then turn off the oven and let the camp oven cool inside.
4. Repeating the Process For optimal results, you’ll want to repeat the oil application and heating process at least three to four times. This builds up a solid, effective seasoning layer. Each cycle improves the non-stick properties and strengthens the protective coat.
5. Maintaining Your Seasoning Once seasoned, proper care is crucial. After each use, avoid soaking your camp oven in water. Instead, clean it with hot water and a soft sponge, then dry thoroughly. Occasionally, apply a light coating of oil to keep the seasoning intact.
Cooking with a Seasoned Camp Oven
With your camp oven seasoned and ready to go, you can explore countless recipes. From delicious casseroles and baked potatoes to decadent desserts, the possibilities are endless. Always remember to monitor your cooking closely, as cast iron retains heat exceptionally well, and adjust your cooking times accordingly.
In conclusion, seasoning your camp oven isn’t merely a chore; it’s an investment into better cooking and enhanced outdoor experiences. A well-seasoned camp oven not only elevates your culinary creations but also ensures that your cooking adventures are enjoyable and stress-free. So go ahead, season that oven, and embark on a new cooking journey under the open sky!
-
Premium Skillets Sets - Porcelain & Enamel Covered Cast Iron Cookware for Every KitchenNewsJun.24,2025
-
Premium Deep Cast Iron Pan – Versatile Enameled & Grill Options, Perfect for Frying and SaucesNewsJun.10,2025
-
Chipped Enamel Dutch Oven – Durable & Stylish Kitchen Essential for Even CookingNewsJun.10,2025
-
Best Cast Iron Cookware Set Sale Durable Pots & Woks DealsNewsJun.09,2025
-
Hanging Dutch Oven Oven Safe & Lid IncludedNewsJun.09,2025
-
16 Inch Dutch Oven - Heavy Duty Cast Iron for Large MealsNewsJun.09,2025