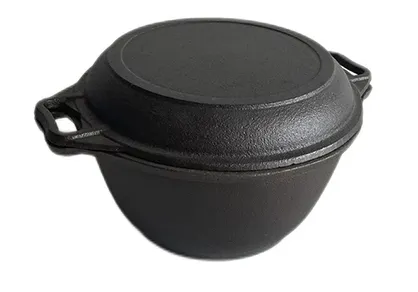
reconditioning cast iron frying pan
Reconditioning Cast Iron Frying Pans A Step-by-Step Guide
Cast iron frying pans are beloved kitchen staples known for their durability and exceptional heat retention. Over time, however, they can lose their non-stick surface due to rust, food buildup, or improper care. If you own a cast iron frying pan that has seen better days, don't despair! Reconditioning it is not only possible but also a straightforward process that can revive its cooking prowess. Here’s how to do it.
Understanding Cast Iron
Before diving into reconditioning, it’s essential to understand what makes cast iron unique. Cast iron is known for its ability to heat evenly and retain heat for extended periods. A well-seasoned pan develops a natural non-stick coating, which enhances its cooking ability and makes cleanup easier. However, over time, factors like exposure to moisture or acidic foods can damage this seasoning, leading to rust and food sticking.
Gather Your Supplies
To recondition your cast iron frying pan, you’ll need the following materials
- Steel wool or a stiff brush - Dish soap - A clean cloth or paper towels - High smoke point oil (such as flaxseed oil, vegetable oil, or canola oil) - Aluminum foil or a baking sheet - An oven
Step 1 Cleaning the Pan
First, assess the condition of your frying pan. If it is heavily rusted or has thick layers of old seasoning, you may need to add some elbow grease. Start by scrubbing the pan with steel wool or a stiff brush. For lighter cleaning, a sponge can suffice. Use a little dish soap if needed, although purists often recommend avoiding soap unless the pan is really dirty.
For severe rust, you may need to use a rust remover, but this should be a last resort. Rinse the pan thoroughly and dry it completely with a cloth or paper towels. Moisture is the enemy of cast iron, as it promotes rust.
Step 2 Seasoning the Pan
reconditioning cast iron frying pan

Once your frying pan is clean and dry, it’s time to re-season it. Preheat your oven to 450°F (232°C). While it’s heating, apply a thin layer of oil all over the pan—inside and out. Make sure to use an oil with a high smoke point for the best results.
After coating the pan with oil, place it upside down in the oven; this prevents excess oil from pooling inside the pan. To catch any drips, place a sheet of aluminum foil or a baking sheet on the rack below.
Let the pan bake in the oven for about an hour
. This process helps the oil to bond with the cast iron, creating a new layer of seasoning.Step 3 Cooling and Repeating
Once the hour is up, turn off the oven and let the pan cool inside it. This gradual cooling helps set the seasoning. After it has cooled, you can repeat the oiling and baking process 2-3 more times. Each layer builds upon the last, leading to a stronger, more durable non-stick surface.
Step 4 Caring for Your Reconditioned Pan
After reconditioning, proper care is vital to maintaining your cast iron frying pan. Always ensure it’s thoroughly dried after each use. If you notice food starting to stick, consider a quick re-seasoning with oil. Avoid cooking acidic foods in a newly seasoned pan until it has built up several layers of seasoning.
Store your cast iron in a dry place, and if stacking with other cookware, place a paper towel between the pans to absorb moisture and safeguard the seasoning.
Conclusion
Reconditioning a cast iron frying pan is not only about restoring its functionality but also preserving a timeless kitchen tool that, with proper care, can last a lifetime. Embrace the art of reconditioning, and you’ll find joy in cooking with your revitalized cast iron pan, creating delicious meals for years to come.
-
High Quality Cast Iron Cookware - ZD Cookware|Durable Heat Retention&Non-Stick SurfaceNewsJul.13,2025
-
Cast Iron Pancake Crepe Pan-Durable Kitchenware-ZD CookwareNewsJul.13,2025
-
Premium Cast Iron Cookware ZD Cookware|Durable Non-Stick Wooden HandleNewsJul.13,2025
-
Durable Cast Iron Pancake Crepe Pan - Zhejiang ZD Cookware Co., Ltd.|Heat Retention,Durability,Non-Stick Surface,Versatile Cooking,Wooden HandleNewsJul.12,2025
-
High Quality Cast Iron Cookware - ZD Cookware | Black Pancake Pan, Non-Stick SurfaceNewsJul.12,2025
-
Premium Cast Iron Square Frying Pan – Durable Nonstick Griddle for Even CookingNewsJul.08,2025


