Baking Perfect Oval Bread Using a Dutch Oven for Delicious Results
The Art of Making Oval Bread in a Dutch Oven
Baking bread is both a science and an art, and one of the most enjoyable and rewarding experiences in the kitchen. Among the various styles and methods of baking, crafting oval bread in a Dutch oven not only elevates your baking skills but also yields a deliciously crusty, soft-centered loaf that is sure to impress family and friends. This article will explore the process, benefits, and tips for making oval bread in a Dutch oven.
Choosing the Right Ingredients
The foundation of a successful bread lies in the quality of its ingredients. For oval bread, you will need
- Flour Bread flour is preferable due to its higher protein content, which aids in gluten development and provides that perfect chewy texture. - Water Use filtered or bottled water for the best flavor. The temperature of the water should be lukewarm to activate the yeast effectively. - Yeast Active dry yeast or instant yeast can be employed. Each has different activation methods, so choose one that suits your schedule. - Salt It’s essential for flavor and helps control the fermentation process. - Optional Ingredients You may add ingredients like honey, olive oil, or herbs to enhance the bread’s flavor profile.
The Bread-Making Process
1. Mixing the Dough In a large mixing bowl, combine the flour, yeast, and salt. Gradually add lukewarm water while mixing until a shaggy dough forms. Allow it to rest for 10-15 minutes to hydrate the flour.
2. Kneading After resting, knead the dough for about 8-10 minutes until it becomes smooth and elastic. Kneading can be done by hand or using a stand mixer with a dough hook attachment.
3. First Rise Transfer the dough to a lightly oiled bowl, cover it with a damp cloth or plastic wrap, and let it rise at room temperature until doubled in size; this typically takes about 1-2 hours.
4. Shaping the Dough Once the dough has risen, gently deflate it and turn it out onto a lightly floured surface. Shape it into an oval by stretching and folding the sides toward the center, creating tension on the surface.
5. Second Rise Place the formed dough seam-side down in a well-floured proofing basket or bowl. Cover it again and allow it to rise for another 30-60 minutes.
oval bread dutch oven

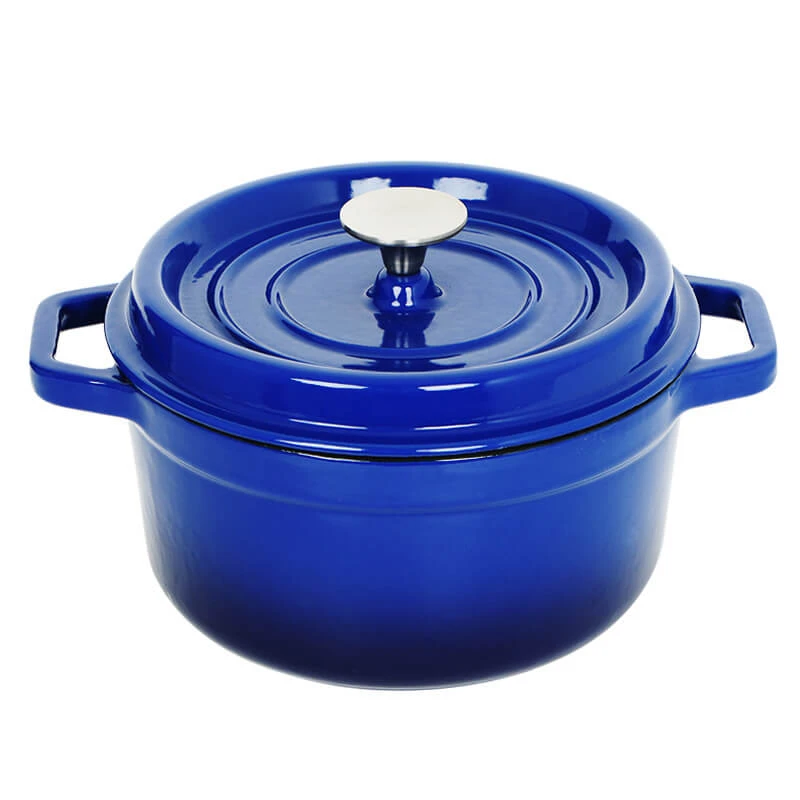
Baking in a Dutch Oven
One of the key elements to achieving that lovely crust is the Dutch oven. Its heavy lid traps steam, creating an ideal environment for the bread to rise and develop a crispy crust while staying moist on the inside.
1. Preheat About 30 minutes before baking, place the Dutch oven (including the lid) in the oven and preheat it to 450°F (230°C).
2. Scoring Carefully transfer the risen dough onto a parchment-lined surface, and using a sharp blade, score the top of the dough. This allows for proper expansion during baking.
3. Baking Carefully remove the hot Dutch oven from the oven, lift the lid, and gently lower the dough inside (parchment and all). Cover with the lid and return it to the oven.
4. Baking Time Bake for 30 minutes with the lid on, and then remove the lid and bake for an additional 15-20 minutes until golden brown.
Cooling and Enjoying
Once baked, remove the bread from the Dutch oven and allow it to cool on a wire rack. This cooling period is crucial, as it finishes the cooking process and helps the crust stabilize.
Enjoy your freshly baked oval bread with butter, olive oil, or as a side for soups and stews. Its crispy crust and soft interior are perfect for creating delicious sandwiches or simply savoring with cheese.
Conclusion
Baking oval bread in a Dutch oven can be a rewarding endeavor. By following these steps and allowing your creativity to flow, you’ll produce a beautiful loaf that tastes as good as it looks. Enjoy the process, and remember that practice makes perfect—each loaf will bring you closer to mastering the art of bread-making!
-
Cast Iron Cookware Pancake Pan- ZD Cookware|Non-Stick, Even Heat, DurableNewsAug.02,2025
-
Cast Iron Cookware- Baixiang County Zhongda Machinery|Non-Stick, Heat RetentionNewsAug.02,2025
-
High Quality Kitchen Durable Black Round Cast Iron Cookware Pancake Crepe Pan With Wooden Handle|Non-Stick Surface&Heat RetentionNewsAug.02,2025
-
Authentic Traditional Chinese Wok for High-Performance CookingNewsAug.02,2025
-
Season Cast Iron Perfectly with GPT-4 Turbo TipsNewsAug.01,2025
-
High Quality Cast Iron Cookware - Baixiang County Zhongda MachineryNewsAug.01,2025