bread in oval dutch oven
Baking Bread in an Oval Dutch Oven A Guide to Perfect Loaves
Baking bread is a culinary art that has been cherished for centuries. The aroma of freshly baked bread wafting through your home is an experience that is hard to match. One of the best tools for achieving the crusty, golden loaves that artisan bakers delight in is the oval Dutch oven. This versatile kitchen vessel not only enhances the baking process but also ensures that your bread turns out remarkable every time.
Why Use an Oval Dutch Oven?
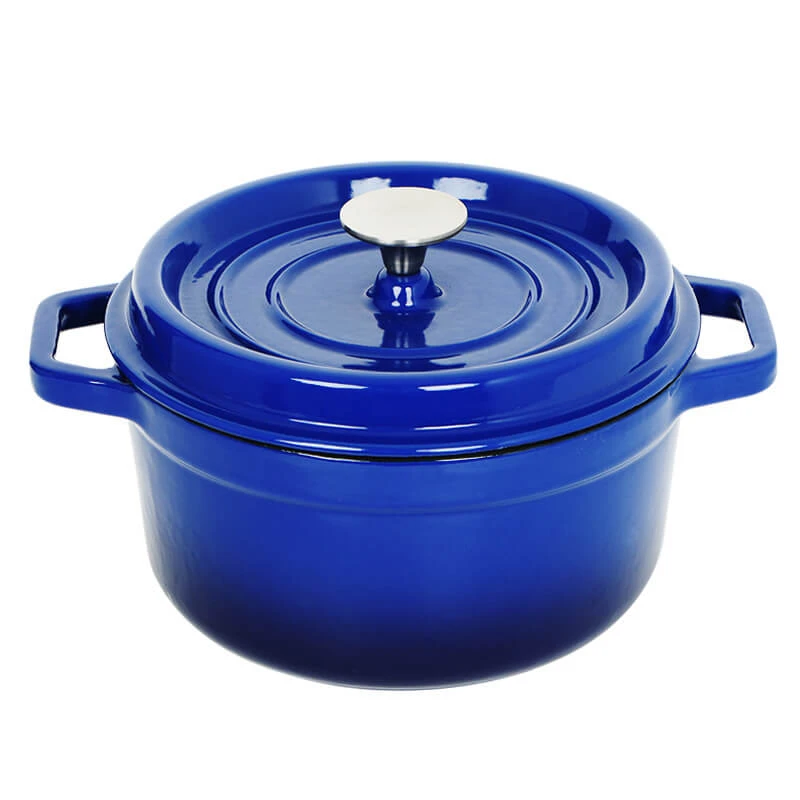
The oval Dutch oven is uniquely designed to mimic a traditional bread oven. Its heavy cast iron construction retains and radiates heat evenly, creating an ideal environment for baking. Additionally, the lid traps steam, which is crucial for developing a crispy crust while maintaining a soft, airy interior. The oval shape allows for a variety of loaf sizes and shapes, accommodating not only round but also longer loaves like baguettes.
Preparing the Dough
Before you can enjoy the fruits of your labor, you need to prepare the dough. A basic bread recipe involves simple ingredients flour, water, salt, and yeast. Start by combining flour and salt in a large bowl. In a separate container, mix warm water with yeast and let it bloom for about five minutes. Once the yeast is frothy, combine the two mixtures and stir until they form a shaggy dough.
Kneading is an essential step. Turn the dough out onto a floured surface and knead it for about 10 minutes, or until it becomes smooth and elastic. Alternatively, you can use the no-knead method, which involves mixing the ingredients, covering the bowl, and letting it rest for several hours. This slower approach allows gluten to develop naturally and simplifies the process.
First Rise
Once your dough is ready, place it in a lightly oiled bowl, cover it with a damp cloth, and let it rise in a warm, draft-free area. This initial fermentation, or first rise, can take anywhere from one to three hours, depending on the ambient temperature. The dough should double in size, showcasing the work of the yeast.
Shaping the Dough
bread in oval dutch oven

After the first rise is complete, it's time to shape your loaf. Gently punch down the dough to release air bubbles, then turn it out onto a floured surface. Shape it into your desired form, whether that’s a round boule or an elongated batard. Once shaped, let it rest for a short period, allowing the gluten to relax, making it easier to handle.
Second Rise
The second rise is crucial for developing flavor and texture. Transfer your shaped dough into a well-floured banneton, a bowl used for proving bread, or simply onto a floured cloth. Cover it and let it rise again until nearly doubled, which usually takes about 30 to 60 minutes. Preheat your oven to 450°F (232°C), and place your oval Dutch oven inside, ensuring it’s hot when you’re ready to bake.
Baking the Bread
When the dough has completed its second rise, carefully remove the hot Dutch oven from the oven (be mindful of burns). Gently flip the risen dough into the pot, making sure to place it seam side up. To create steam, you can add a few ice cubes to the pot or pour a bit of water into the sides before covering it with the lid. The steam will help form that coveted crust.
Bake the bread covered for about 30 minutes to retain moisture, then remove the lid and bake for another 15-20 minutes until the crust is dark and crispy. The internal temperature of the bread should reach around 200°F (93°C).
Cooling and Enjoying
Once your bread is a beautiful golden brown, carefully remove it from the Dutch oven and place it on a cooling rack. Allow it to cool completely before slicing to prevent a gummy texture. The anticipation is part of the joy!
Conclusion
Baking bread in an oval Dutch oven is a delightful journey that combines simplicity with technique. Not only will you produce stunning loaves that rival those from the best bakeries, but you’ll also gain a new appreciation for the craft of bread-making. So roll up your sleeves, gather your ingredients, and let the magic unfold in your kitchen! Enjoy the process and, most importantly, enjoy your delicious homemade bread.
-
Cast Iron Cookware Pancake Pan- ZD Cookware|Non-Stick, Even Heat, DurableNewsAug.02,2025
-
Cast Iron Cookware- Baixiang County Zhongda Machinery|Non-Stick, Heat RetentionNewsAug.02,2025
-
High Quality Kitchen Durable Black Round Cast Iron Cookware Pancake Crepe Pan With Wooden Handle|Non-Stick Surface&Heat RetentionNewsAug.02,2025
-
Authentic Traditional Chinese Wok for High-Performance CookingNewsAug.02,2025
-
Season Cast Iron Perfectly with GPT-4 Turbo TipsNewsAug.01,2025
-
High Quality Cast Iron Cookware - Baixiang County Zhongda MachineryNewsAug.01,2025