Tips for Baking Perfect Bread in an Oval Dutch Oven
Baking Bread in an Oval Dutch Oven
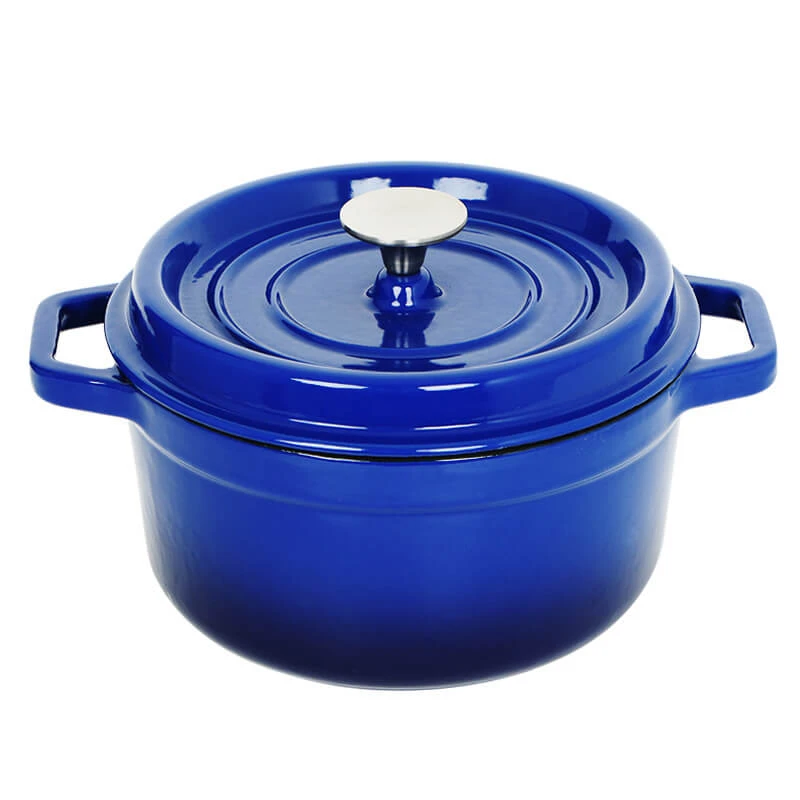
Baking bread at home has seen a renaissance in recent years, and one of the best methods to achieve artisan-quality loaves is using an oval Dutch oven. This versatile piece of cookware not only provides an excellent heat source but also creates a steamy environment, which is crucial for achieving that perfect crust. In this article, we will explore the benefits of using an oval Dutch oven for bread baking, along with tips and techniques to help you embark on your bread-making journey.
The Advantages of an Oval Dutch Oven
One of the primary advantages of using an oval Dutch oven for baking bread is its ability to retain heat. The thick, heavy walls of cast iron distribute heat evenly across the loaf, ensuring that it cooks thoroughly without any hot spots. The oval shape is especially beneficial for longer loaves, allowing for a more traditional shape reminiscent of French or Italian breads.
The lid of a Dutch oven is essential for creating steam during the initial phase of baking. This steam helps to keep the surface of the dough moist, preventing it from forming a crust too quickly. Instead, it allows for the bread to expand and oven spring, resulting in a lighter, airier texture. The moisture also contributes to a beautifully crisp crust that is synonymous with artisanal bread.
Preparing the Dough
Before you can bake your bread, you’ll need to prepare your dough. Whether you’re following a classic sourdough recipe or a simpler no-knead bread, the process usually begins with a combination of flour, water, yeast, and salt. After mixing the ingredients, allow the dough to rest and develop flavor through fermentation. This resting period can range from a few hours for quick breads to overnight for sourdough, which not only enhances the taste but also improves the texture.
Once your dough has had sufficient time to rise, it’s time to shape it. For an oval Dutch oven, you may find that a simple batard shape works best. Gently deflate the dough, then shape it into an elongated loaf by stretching and folding. Be gentle; you don’t want to knock out all the air bubbles you've just created.
Preheating the Dutch Oven
baking bread in oval dutch oven

An essential step in the baking process is preheating the Dutch oven. Place your empty oval pot in your oven and set it to the required temperature, typically around 450°F (230°C). This ensures that the pot is hot enough to create an immediate burst of steam once the dough is placed inside, which is critical for achieving that coveted crust.
Baking the Bread
Once the oven has reached the desired temperature, carefully remove the hot Dutch oven. Using parchment paper can make transferring the dough easier and will help minimize the risk of burns. Place your shaped dough into the pot, cover with the lid, and return it to the oven.
Bake with the lid on for the first 30 minutes. This traps steam and allows the dough to rise before the crust sets. After 30 minutes, remove the lid and continue to bake for an additional 15-20 minutes. This is when the crust will develop that golden-brown color and excellent texture.
Cooling and Enjoying
Once the baking is complete, carefully remove the loaf from the Dutch oven and place it on a wire rack to cool. This step is crucial; allowing the bread to cool completely enhances the flavor and texture. Slicing into bread that is still warm can result in gummy interiors, so patience is key!
Once cooled, your homemade bread is ready to be enjoyed. It can be toasted, used for sandwiches, or simply slathered with butter. The aroma of freshly baked bread fills the kitchen, creating an inviting atmosphere that is sure to evoke memories and spark joy.
Conclusion
Baking bread in an oval Dutch oven is not just a method; it’s an experience. The combination of heat retention, steam creation, and the joy of crafting something from scratch makes it a rewarding endeavor. With some practice, you’ll be able to produce bakery-quality loaves right in your own kitchen. So gather your ingredients, dust off that Dutch oven, and start your journey to become a home baker!
-
Authentic Traditional Chinese Wok for High-Performance CookingNewsAug.02,2025
-
Season Cast Iron Perfectly with GPT-4 Turbo TipsNewsAug.01,2025
-
High Quality Cast Iron Cookware - Baixiang County Zhongda MachineryNewsAug.01,2025
-
Premium Cast Iron Pan: Durable & Perfect HeatNewsAug.01,2025
-
High Quality Kitchen Durable Black Round Cast Iron Cookware Pancake Crepe Pan-Baixiang County Zhongda Machinery Manufacturing Co., Ltd.NewsAug.01,2025
-
Cast Iron Cookware - Baixiang County Zhongda Machinery | Nonstick, Heat ResistanceNewsAug.01,2025