oval bread dutch oven
The Art of Making Oval Bread in a Dutch Oven
Baking bread is often seen as a simple yet fulfilling culinary task, one that connects us to our ancestors and fills our homes with the comforting aroma of fresh baked goods. One of the most delightful styles of bread to create is oval bread, a shape that not only looks appealing but also bakes beautifully in a Dutch oven. Let’s delve into the process of making oval bread in a Dutch oven, exploring the techniques and tips that can elevate your baking experience.
Choosing Your Ingredients
The first step to making outstanding oval bread is selecting high-quality ingredients. The foundation of any excellent bread is flour. Choose a strong bread flour, which has a higher protein content than all-purpose flour. This will give your dough the strength it needs to rise properly. You’ll also need water, yeast, and salt—the essentials for any bread recipe.
For added flavor and nutrition, consider incorporating ingredients like whole wheat flour, seeds, or herbs. The beauty of bread-making lies in its versatility; you can customize your oval loaf based on your personal taste and dietary needs.
Mixing and Kneading
Begin by mixing your dry ingredients—flour, salt, and yeast—in a large bowl. Slowly add water, mixing until the dough starts to come together. At this point, you can use your hands to knead the dough for about 10 minutes until it becomes smooth and elastic. This process is crucial as it develops the gluten structure, which gives the bread its chewiness and form.
If you prefer a no-knead method, you can allow the dough to rest longer, developing flavor and texture through fermentation. A longer fermentation time, typically overnight in the refrigerator, allows the flavors to deepen as well.
Shaping the Dough
oval bread dutch oven

Once your dough is ready, it’s time to shape it into an oval. Gently deflate the risen dough on a floured surface and use your hands to stretch and fold the dough into an oval shape. Be careful not to overwork the dough; you want to retain as much gas as possible for a light and airy crumb. After shaping, let it rest for about 30 minutes, covered with a cloth to prevent drying.
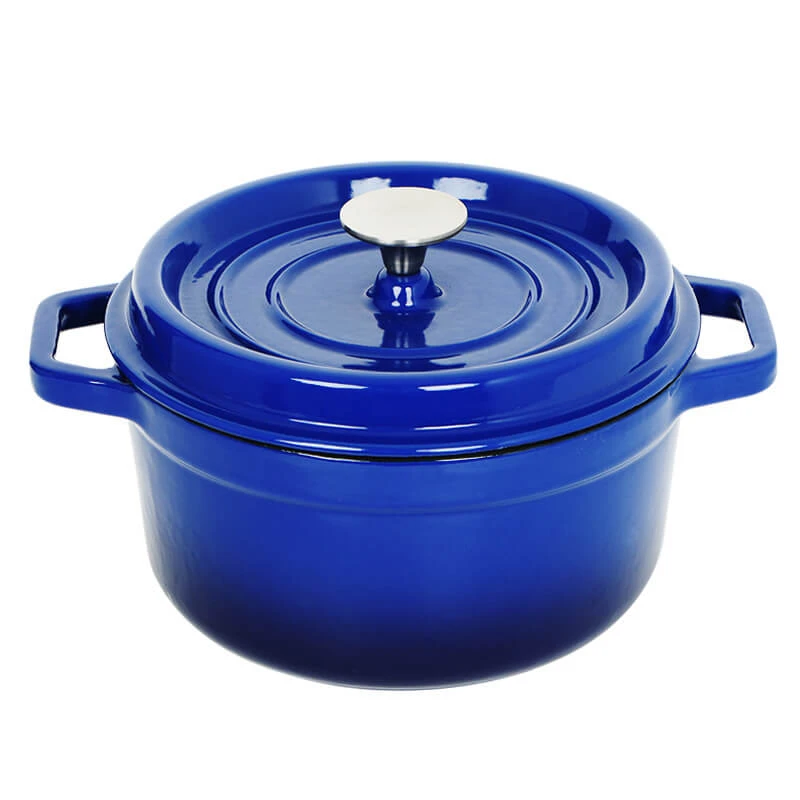
Preheating the Dutch Oven
While your bread is resting, preheat your Dutch oven. This is an essential step because an adequately heated pot helps the bread to achieve that lovely crust while steaming it from inside. Place your Dutch oven in the oven at a high temperature—around 450°F (230°C)—for about 30 minutes.
Baking the Bread
After preheating, carefully remove the hot Dutch oven. You can either place the dough directly into the pot or transfer it onto parchment paper for easier handling. If desired, make a few slashes on the top of the dough to allow steam to escape, which helps create an appealing crust.
Cover the pot with the lid and return it to the oven. Bake for about 30 minutes with the lid on, then remove it for an additional 15-20 minutes to achieve a golden-brown crust. The result should be a beautifully risen oval bread, with a crusty exterior and a soft, airy interior.
Enjoying Your Creation
Once out of the oven, let the bread cool on a wire rack before slicing—this step is crucial as it allows the moisture to redistribute. Enjoy your oval bread fresh with butter, use it for sandwiches, or serve it alongside soups and stews.
Baking oval bread in a Dutch oven is not just about making food; it’s about enjoying the process and celebrating the warm, nourishing results with those you love. So gather your ingredients, roll up your sleeves, and embrace the delightful journey of bread-making!
-
Premium Deep Cast Iron Pan – Versatile Enameled & Grill Options, Perfect for Frying and SaucesNewsJun.10,2025
-
Chipped Enamel Dutch Oven – Durable & Stylish Kitchen Essential for Even CookingNewsJun.10,2025
-
Best Cast Iron Cookware Set Sale Durable Pots & Woks DealsNewsJun.09,2025
-
Hanging Dutch Oven Oven Safe & Lid IncludedNewsJun.09,2025
-
16 Inch Dutch Oven - Heavy Duty Cast Iron for Large MealsNewsJun.09,2025
-
Premium Cast Iron Bacon Grill Press - Heavy-Duty & Even HeatingNewsJun.09,2025